Showing posts with label Top. Show all posts

Tuesday, May 20, 2014

Shawl Collar Peplum Top & Giveaway! [Closed]


So, from the Japanese Sewing Book "Basic Black", I made this Shawl Collar Peplum Top.


This is the original pattern from the book.  You can see here they gave the recommended fabric and the notions as well as the Sewing Steps.  The shaded areas means 'Wrong side facing up'.


The most complicated part of the sewing is the shawl collar which is illustrated nicely in the diagram given in the book.


Changes I made

1. Change the fabric from Dobby Check to Knit. Can you believe that I don't even have any black fabric at home! Finally I found some black and white stripe knit that I bought from Spotlight a few weeks ago.


The knit is quite thick so I decided to use this instead and it works out quite well. The only problem I have is the matching of the stripes which was a nightmare. It didn't quite match up at the back but I managed to do better at the side seams.  My eyes were swimming when I was cutting out the pieces.


2. The 2nd changes that I made was to cut a short rectangle to make it into a peplum top.  I just eye ball the length that I want and cut along the white stripe, using the full width of the fabric.  It made pleats instead of gathering the skirt to reduce the bulk at the waist.


I especially love the shawl collar.  The interfacing really makes the collar stands properly. I topstitch the collar to make it lay nicely.  I like it that it is not to low and add interest to a normal V neck peplum top.


As mentioned in my earlier post, the finished size for each design given in the book really helps me in choosing the right size.  I tally my measurements against those on the book, using Bust, Waist and Hip measurements.  The size is quite accurate I find.   

Next up I think I will try to make the Round collar jacket since I really need one for my office.


My birthday is in May so I will be having a Giveaway.  The kind people from Tuttle Publishing have given me 2 copies of the 'Basic Black' for the giveaway.  Isn't this amazing!  

To enter, just leave a comment on this post with your email address.  You can leave any comments and I will pick 2 readers randomly and contact the winners by email.   

Giveaway details[Closed]
- 2 winners will be picked randomly
- Open till 31 May 2014
- Open to readers in Singapore and Malaysia only

Okay, that's it for now. I'll update another post soon on my birthday dress, pattern from another Japanese Sewing Book.  Stay tuned! 

Monday, May 5, 2014

Floral and Grey Plantain


I've been so late in sewing up the Plantain from Deer and Doe.

It is a free pattern from Deer and Doe, an independent pattern maker from France. The description given is a T-shirt fitted at shoulders and flare at hips.

I've sewn up 2 versions, not counting the muslin, making short, long and 3/4 sleeves.


Here are both my short sleeve and 3/4 sleeve versions.  The floral ones are made from Heather Ross's Briar Rose line "Calico in Pink". I only got 1 yard so I was quite apprehensive sewing with it. But the quality is so good and stable that I've no issue sewing it up.


During my muslin stage, I realised that the size 36 is slightly tight at my bust. I was too lazy to cut out a bigger size since I've already printed out so I just eye ball and trace a bigger Seam Allowance when I sew the other 2. The hip is just nice so I tapper down to size 36 at the hip.  I also added pockets for my top.


For the grey knit version, I used a knit that I got from Spotlight. It was thinner but still workable. I use the Briar Rose for my pocket piece.


Next I think I can trace it longer to make it into a dress!

Tuesday, March 25, 2014

Peter Pan Collar Sorbetto


This is another top that I've sewn using the tried and tested Sorbetto pattern from Colette Patterns.

This time, I've added a peter pan collar and sleeves.  I trace the neckline and self drafted the collar which is only on the front and bound the seams with black cotton bias tape. I've interfaced the collar to make it stays the shape.


The birdcage chiffon is from Spotlight which is surprisingly not difficult to sew. I was attracted by the cute print and the subtle blue and turquoise collar of the birds.  The collar compliment the black on the birdcage nicely.


For the sleeve, I've use the same sleeve piece from my earlier yellow blouse which fits the sorbetto really well. I bind the sleeve hem with the same black bias tape.


Here's the front view on me. I wore it to work and many thought it was store bought. I'm very happy! Next time I think I will make the neckline smaller and change it to a dress?


Sunday, March 23, 2014

Yellow Blouse


The past week has been a fruitful sewing journey for me. Made 2 blouses and 1 skirt for myself, 2 skirts and a dress for my girls.  That explain why I've been missing for some time. Hard to take photo after the late night sewing and rushing to work in the day time.

Here's the first top I've sewn.  It's a pattern from Lady Boutique No. 485 for a loose blouse with notch and bias bound neckline.


I bought this soft butter yellow cotton from Spotlight. They are very airy and just the right drape for this type of blouse.  I omit the center seams and notch and cut my front on the fold.  The neckline is wide enough to slip through without the notch.

I bind the neckline and sleeve hem with these pretty floral bias tapes that I got from Daiso. The orange and yellow flower really makes the blouse so springy and pretty.


You can wear the blouse as it is, tuck out or tuck in.  Or you can wear with a belt.  I sew the remaining bias tape onto a grosgrain ribbon and use it as a belt.


I love the bias tapes and there are few more in blue, pink and yellow that I bought so can't wait to use them on my project.

Tuesday, November 20, 2012

Exposed Zipper Top


When I saw this colorful striped cotton at Spotlight, I envisioned a simple top with exposed zipper. So, that's what I did when I got home since I've got just a the colored metal zipper to go with it.

The fabric actually had more colors but I only used the top portion with purple, blue, grey and yellow.  It's a simple top that I just trace off one of my existing top. I've made the front shorter than the back so that it will be more of a tapered short top look.

This is how I insert the exposed zipper.
1) Measure the size of your zipper and back bodice. Place your zipper in position to get a gauge on how long you want the zipper to be exposed. Using a disappearing pen, draw the zipper position, starting from neckline.


2) Cut a piece of fabric slightly wider and longer than your zipper.  This is actually the zipper facing that you will sew with your zipper.  Treat the seams by serging or zig zag all the raw edges. Using the disappearing pen again, draw a line in the middle of the Facing.


3) Then, pin the facing in the middle of the back where the zipper position is. Remember that the Facing and Back bodice are Right Side Facing. i.e. Facing has the Right side face down. 


4) Start sewing from the top, aligning the left side of your zipper foot to the middle of the line of the Facing. See below. The distance is up to you. If you wish to expose more of your zipper, you can sew it further away from the middle line. As an after thought, I should have sewn it further away so that more of the zipper is exposed. Oh well. Live and Learn. Sew all the way down and then turn right angle and sew about 0.5" or 1", depending how wide is your zipper. Then, lift up your zipper foot again, with needle still in the fabric, turn the fabric again so that you can continue to sew up towards the neckline. You will be sewing a rectangle around the middle line on the Facing.


5) Then, use a scissor and cut from the neckline, all the way down near the end of the rectangle. At the ends, you can cut 2 slits to help you turn the facing to the wrong side. Then, turn the facing to the Wrong side of the back bodice. Press with iron so that it lies flat.


6) Now, you can place your zipper behind the rectangle and pin in place.


7) Using a zipper foot, sew all around the rectangle opening and you are done sewing the zipper!  Just need to sew up the shoulder seams for front and back. Hem the sleeves and bottom and you are good to go.


For the front of the bodice, I've made a simple small pleat to make it more interesting. Here's the front view. 


Back view with the exposed zipper

closer look at the zipper


Side view with matching stripes and interesting high low front and back.

My kids were trying to get into the picture and I'm trying hard to push them away here. I was rushing off to work and trying to take some photos before I dash off to work.  

Now, I really need to get into the sewing mojo since Christmas is around the corner again. This time I'll pace myself and do what I can.  Maybe I can just buy the gifts this year : P

I've actually sewn 2 jackets for the girls. They are really cute although maybe too hot for our weather here.  Will share more in next post.

Tuesday, September 18, 2012

Yoke Tunic


I love this tunic. The pattern was from Cucito Summer 2012 issue. I've used some fabric I got from Ikea for this.


The original design has a different fabric for the yoke and sleeve cuffs but I just use the same fabric for all.  I made size M since S is abit tight at the hip for me. I had originally intend to lengthen the sleeves by 2" since I'm not using the sleeve cuff but forgot when I cut my fabric.


Love love the yoke. The instruction given was in drawing so it was a breeze sewing it up. Just note that the back neckline seam allowance will not align to the front neckline because you will be using bias tapes to bind them. So, when attaching front and back bodice, align the seams along the armholes.


The back view with buttons. Sewing the rows of button holes with my Janome is really a breeze. I love how easy it is now. The tunic has some gathers below the front yoke and back yoke to make it more fitted on the bodice.

I think this would also look nice in white too. There is a kid's version so maybe I can make one for my girl for a mother and child look!

Sunday, September 2, 2012

Knit Tapered T-shirt


I made this T-shirt some time ago but didn't have time to take photo of the final product.  It's really comfortable T-shirt that I drafted myself.  I traced one of my favorite knit tee to get the basic shape but make it longer so that the tee will fall at my hip.

To save the steps, I only use one pattern piece.  Simply adjust the neckline and hem and you can get 2-in-1 template here.  For the neckline, I snip the front neckline but leave the ends uncut so that I can use both for the front and back! My front neckline is about 2" below the back neckline.


For front of the tee, I make the hem to be higher in front than the back. I use a curve ruler and draw the curve by just eye ball it.


For the back pattern, I also use the curve ruler to make a rounded curve downwards. You just add this piece when you cut the back piece.


Then, place your pattern on fold and cut the front and back out.  Because I've use a stripe knit, I need to match the stripe from the front and back so that the side seams match.  Remember to add seam allowance before you cut. I use 3/8" for all.


I also use the remaining knit to make a small cap sleeves. Sorry, no photo here.

For the sewing, just do the 4 steps below.

1. Pin the front and back shoulder seams together, Right Side facing and sew using 3/8" seams allowance. Press seams open and serge the seams.

2. Attach the sleeves to the arm hole, Right Side facing, and sew using 3/8" seams allowance. Serge the seams.

3. Place the front and back, Right Side facing, sew the side seams starting from armhole to the hem. Try to match the stripes. Serge the seams starting from the sleeves to the hem.

4. Fold over the neckline and sew using a twin needle.

Since the knit is very lightweight, I decided not the hem the sleeve and hem. If you are uncomfortable, you can fold over and sew using the twin needle. That's it. Easy right.


Sunday, July 8, 2012

Stripe Top with Lace


I'm so pleased with this top that I've drafted myself.  It's really simple blouse with only front and back pieces. 

I've also have bust darts in front and make a small pleat at the sleeve.


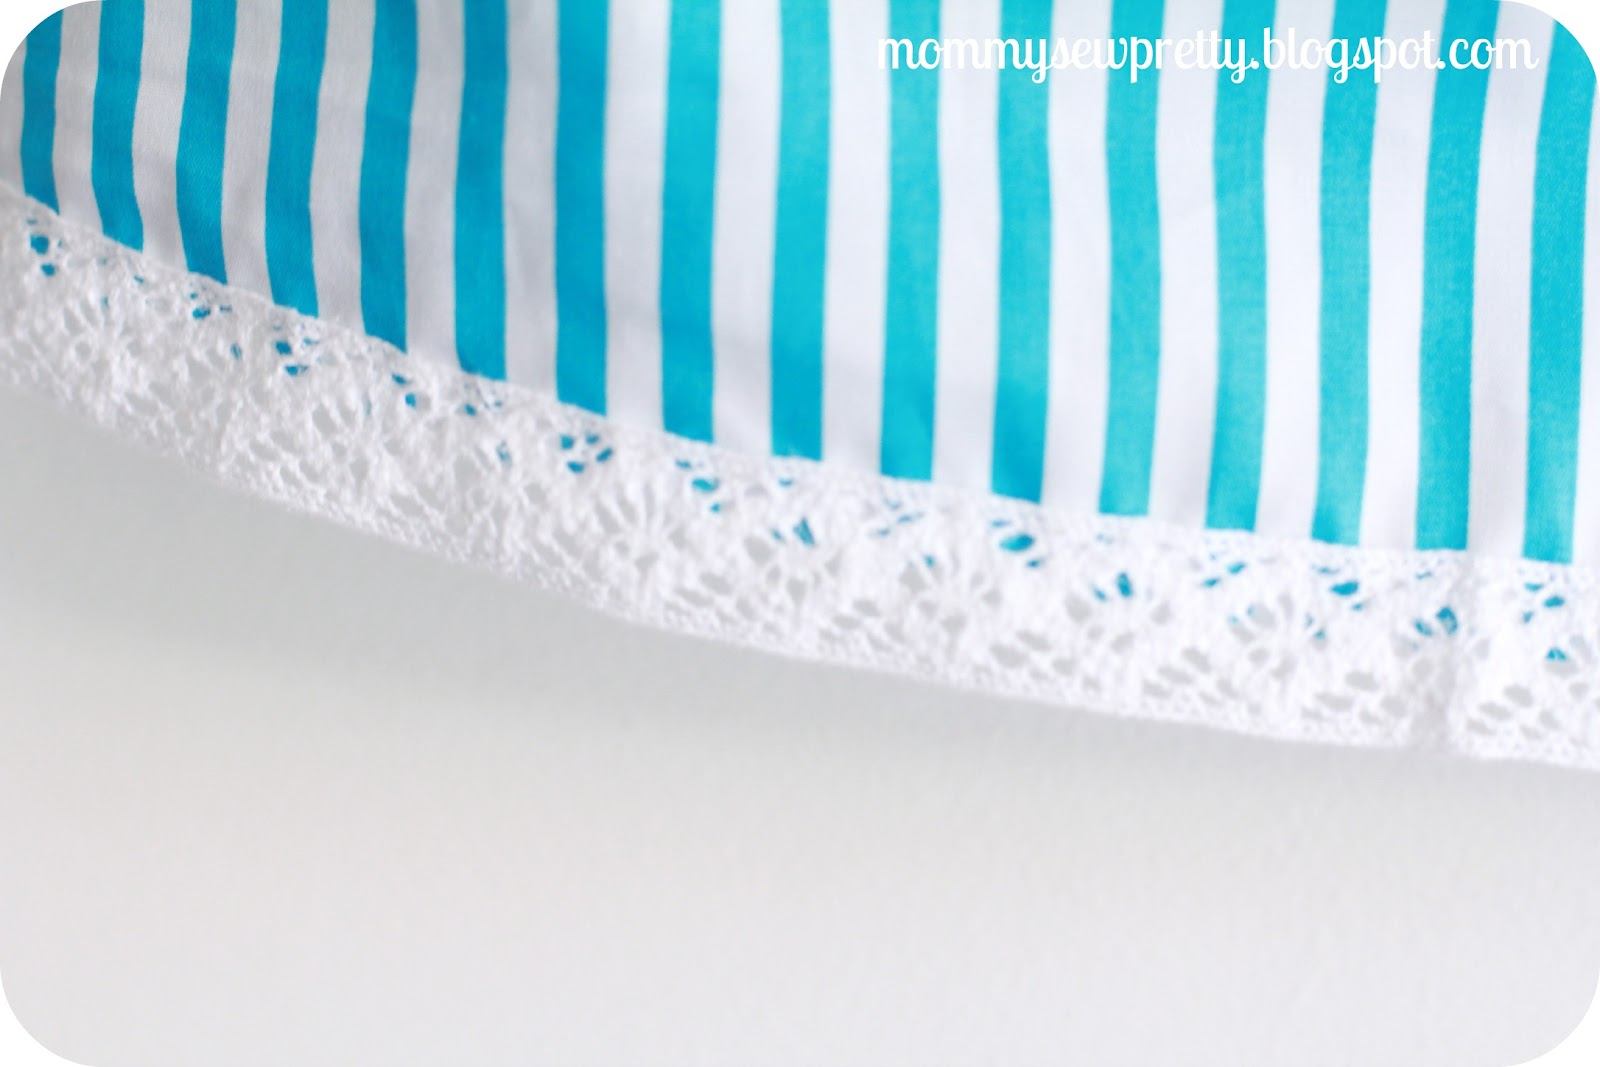
Since it is a simple top, I added some white lace that I got from Diaso at the neckline and the hem.


It's amazing how you can change the look of the top with just lace! I hope my sister likes it since I made it as a birthday present :) Happy birthday Serene!


Monday, June 18, 2012

Peter Pan Collar Top


I found Kinokuniya Orchard carry the Cucito magazine! The last time I saw one was at Popular at Bishan Junction 8.

I love the Cucito Spring 2012 magazine issue as there are a few woman pattern besides the cute children clothes and bags/hats. One of it is this Peter Pan Collar Top. It also comes in dress but I feel that the long dress version looks like a maternity wear!

The back has a row of fabric covered buttons which I made using a $2 covered button kit from Daiso!


The top also has pleats at the front and back shoulder.  I think the bodice is still wide so I cut off 1.5cm from both side seams.  I also use size S instead of my usual size M since Japanese pattern usually run loose.


The pattern call for a bias tape hem at the sleeves but I decided to do some pleats instead to save the hassle of cutting another piece of fabric.


I also eliminated the bias tapes at the neckline and use white twill tape instead. It hides the raw edge and has some stretch to it to accommodate the curve neckline

I love the big peter pan collar and buttons at the back. There are some lines at the sleeve, maybe of my drooping shoulder? Or is it too tight? Anyone got any idea how to remove them?


It's a nice top and I think it will look good with my new shorts that I made using another pattern from another Cucito January 2012 issue. Share more on this later.