Showing posts with label tutu. Show all posts

Wednesday, February 5, 2014

Tutu Dress - Chinese style


My girls love tutus.  So, I decided to make them a tutu dress for the Lunar New Year.

Little sister got the Pink and Green combo


While Big sister has the Purple and Pink combo


The pattern is from Violette Field Threads' Chloe.  The bodice fits both my girls very well.  But I did the skirt differently since it was really thick.

For the bodice, I added the bias tape trim to create a curve feature and add on 3 frog buttons.  The bias trim is also added to the bodice edge.


Instead of a separate waistband/ties, I just measure the desired length I want and insert them to the side seams.  Just make sure that you insert them about 1/2" or 1" above the bodice hem as you will need to account for the seam allowance that will get attach to the skirt.


I also do away with buttons since I really dislike sewing button holes.  Invisible zipper makes everything looks so neat don't you think so?


Have you notice something different here?  The skirts are detachable! This is more practical and versatile.  So, I use my satin and sew them a gathered skirt and attach directly to the bodice.


The detachable tutu was made up of 4 layers, excluding the inner skirt. I think it makes it more poof and so much more work to gather them! After I gathered all the tutus together, I attach them to a waistband cut from the same fabric as my inner skirt.  The waistband is then threaded with elastic so that they can take it off easily.

For my Big girl, I use pink for first layer, purple for 2nd, white netting for 3rd and pale yellow tulle for 4th layers.  The waistband is in purple, same fabric as her purple satin skirt beneath.


Little sister's tutu skirt is made with Green at top layer, pink on 2nd, white netting for 3rd and pale yellow tulle for the 4th layer. Her waistband is pink satin, same as her satin pink skirt beneath.


The dress without the tutu is just as sweet right? Pardon the crease, I've her tried it on before ironing.


They love the dresses.  So festive and yet versatile. They can wear it without the tutu and it is simple and sweet dress.

And if they feel like it, the tutu is really swingy and princessy.


They got lots of compliments from relatives and friends when we went visitation during the Lunar New Year. Felt so proud as their mama. : )


So, did you make any dress for this lunar new year?

Thursday, April 7, 2011

Sewing gifts

Didn't realised that this post is sitting in my draft mode for 1 month!  Thought better late than never, here goes.

Although my baby is now a toddler at 1 year old, I still love to make babies things. Good thing that I've colleagues who are having babies soon. So, I can still sew and give them away.

I"ve earlier made them baby shoes and decided to make a matching onesies for them using the same fabric that I've used for the baby shoes. I've put a interfacing at the back of the hearts that I've cut out from the leftover fabric to give some body. When I sew, I've iron some freezer paper inside the onesies directly behind the hearts so that the fabric will not pull when I sew.

don't you think the shoes matches the onesies?

I've also finish a tutu skirt that I've promised my niece. Added a purple lining skirt as well so she can wear them out as well. For variation, I've actually pulled the 4 layers of tulle up at different height to give it volume and dimension. Hope she likes it.


Monday, November 15, 2010

An update on the tutus

As updated last week, suppose to finish the last tutu for big sister. Which I did. But, alas! She had a fall and had a hairline crack on her arm so she was put on cast and didn't get to wear it. : ( In the end, she had to wear a dress with a large arm hole to the wedding dinner so that the cast can go through. It's a pity cause the tutu was a beautiful turquoise blue with a satin inner skirt. I've used a white satin ribbon to tie around as a wrap around tutu. Looks like a cinderalle tutu?


Did I mention that I made one tutu for my dinner and dance? Well, I did! ha! It was a red tutu with black ribbon around the waist. The theme for the dinner was Red or Silver. So I made a red one. How do I look?

Anyway, although big sister can't wear the tutu, the baby got to wear them. She looks like a sweet princess and everyone said she looks so so sweet. But my hubby said she's like a slippery snake. Cause the tutu was making it hard for him to hold on to her as she constantly move around.


Here's the picture of poor sister in cast...my heart ache. I've promised her that I'll make a ballerina in tutu for her to keep her company while she is in cast. Poor girl.

Wednesday, November 10, 2010

A tutu, 3 dolls and a tinker romper-in-the-making!

Wow! After a long sewing break, I've started my tutu sewing for my 2 girls. Need to get them ready by this Sunday for the wedding.  I've finished the baby tutu.

It measure 9" long as I hope she can wear them for many more years! I've inserted elastic band and put satin ribbon around the hem of the tulle. The instruction is the same as what I did for the other tutu.  It's 52" by 9" wide and I've laid 8 layers. It also has a tiny little pink lining underneath! Can't wait to see her in this. The other piece for my older girl will have to wait as I've yet to buy the dark blue tulle for the dress.

Another projects that I did was the 3 Black Apple dolls that I did for my 2 girls. Can't resist to do them in the dress that I've previously made for them. So cute. You can easily make yourself using the template.  I've made some slight adaptation of including the shoes. The small one is exact copy of the template and the bigger ones are from the 150% of the copy. Thinking of making a ballerina one too.


In addition, I'm in the midst of constructing a tinkerbell romper for my 10 month old girl. It's from 2 XL-size T-shirt. I got it from Samstermommy website. It's quite a simple project but I took some picture so that it's clearly to follow. I yet to continue that as I've not gotton the elastic thread! my my my. Busy time but so enjoyable.

Do you like what I'm doing here? Why don't you just grab some fabric and start working on it. I can assure you that it's very rewarding to see the face of the recipients when they receive the gift. : ) I know mine did!

Thursday, October 28, 2010

I'm inspired for another tutus

I'm inspired again to make some more tutus for my girls. One of my cousin from my husband's side is getting married next month. I was thinking that it will be fabulous if I can make a matching fairy-like tutus for my 2 girls as D1 is given the big role to be a flower girl! Well, the baby is still too small yet but it will be cute to see them wearing the same tutus. 

I was also inspired by these beautiful tutus that I seen on Esty here and here and here. So beautiful.


Was thinking if I should order them instead of pulling hair making one. Ain't they beautiful? Oh well, my husband would say that I should just try my hand on it since the wedding is come in 2 weeks time, the shipment may not get here on time. Hmm...if I'm successful, I may even make one for myself : o P
We'll probably look like the 3 fairies in the sleeping beauty. hahaha...

ok. got to stop dreaming now. All these thinking and browsing really makes me excited. Hmm.. got to quickly get the tulle and ribbons for the big project now.  Will definitely post them if that come to pass.

Saturday, September 25, 2010

Tutu for 2 sisters

My fabric finally arrived! yeah! It's Layer Cake - Breakfast at Tiffany's by Fig Tree Quilts for Moda. Not sure what I'll do with it but since it's abit expensive, I need to think hard. Hmm..I've got many ideas but let's see....

Anyway, the last few days I've made 2 more tutus for the girls. Decided to do one for the baby too. I did 2 different methods from my previous tutorials. You can try this if you like this version which involves alittle bit more sewing but just as nice.

Blue Cinderella tutu (name given by D1)
pale blue tutu with satin ribbon bow

Material
tulle 3m long by 60" wide
1 elastic band (please include allowance for sewing)
blue satin ribbon (optional)

Instruction
Same steps as my previous tutorial in cutting the tulle and fold the 60" width twice lengthwise.  Final width of the folded tulle is 15"as I intended the length of tulle to be 15". So, you can adjust accordingly to your desired length by multiplying by 4.
can't see very clearly as tulle is light blue, folded into 4 layers (2 raw edges & 1 folded edge)

Sew 1" from top of the folded tulle lengthwise to make ready for the waist band.
pin 1" lengthwise throughout the whole 3m
Insert the elastic band through the 3m long waistline and sew the ends together.  The elastic band should be waist length of your child + 1" excess for sewing. Arrange the tulle equally around the wasitband so that the skirt looks full.  You can add the ribbon or any assessories if you like. 
insert the elastic band through the waist line. Use safety pin if you have difficulty pushing the band through

My hubby felt that the skirt looks abit translucent even though I told him that it's like this as you wear the leotard with it. But since D1 loves to wear it outdoor, I'm thinking of sewing a detachable lining that she can wear with it if she's not going for her ballet class. Else, you will have to wear a slack or pants underneath.
happy girl in her blue tutu

White tutu for the baby
simple white tutu

Material
tulle 2m long by 36" wide (2 pc)
1 elastic band

Instruction
This is very easy and can be done within 15minutes if you don't include the cutting of fabric. First cut 2 pieces of tulle of width 36". I've using 36" as I intended the final length of tutu to be around 9-10".  As this is for my baby (waist 17"), I don't need so much volume, hence reduce the tulle length to 2m.

Put the 2 pieces of identical tulle on top of each other and sew down the middle length wise.  I've used a blue thread as I want the blue thread to be visible on the finished tutu.

Fold the tulle lengthwise along the sewed line. Sew another line below the middle row about 1" from middle sewed line. This is the create a waistband.


Insert the elastic band into the waistline and sew the ends together. Arrange the tulle to cover the sewed elastic band.  You will see that there is 2 tier layers, one shorter infront and the longer behind.  See finished tutu below.
Cute baby in her new tutu

Monday, September 20, 2010

Knick Knacks Tutu

Over the weekends, I've sewed a nice tutu for D1. I've read about a tutu online that you can insert little knick knacks into the tutu skirt and has nice ribbon running around the waist. Think it was Martha Stewart's show.  I've made some localised adjustment in terms of size and measurement.


For those of you who are game to try this, it's pretty easy. Just some basic sewing skills (you don't even need a sewing machine, just that it'll save time if you have one) and lots of imagination.

Materials
60" X 1.3 m length of tulle
1" riboon of length 82" (cut into 2 strips of 22" and 60")
knick knacks / confetti or pretty things etc
same coloured thread
pins

Instructions
1. Lay the whole length of tulle and fold twice lengthwise so that now it's 4 layers and the width is 15". 1 side is the folded edge (which will be the waist) while the other side has 1 folded edge and 2 raw edges.


fold twice lengthwise


1 folded edge and 2 raw edges

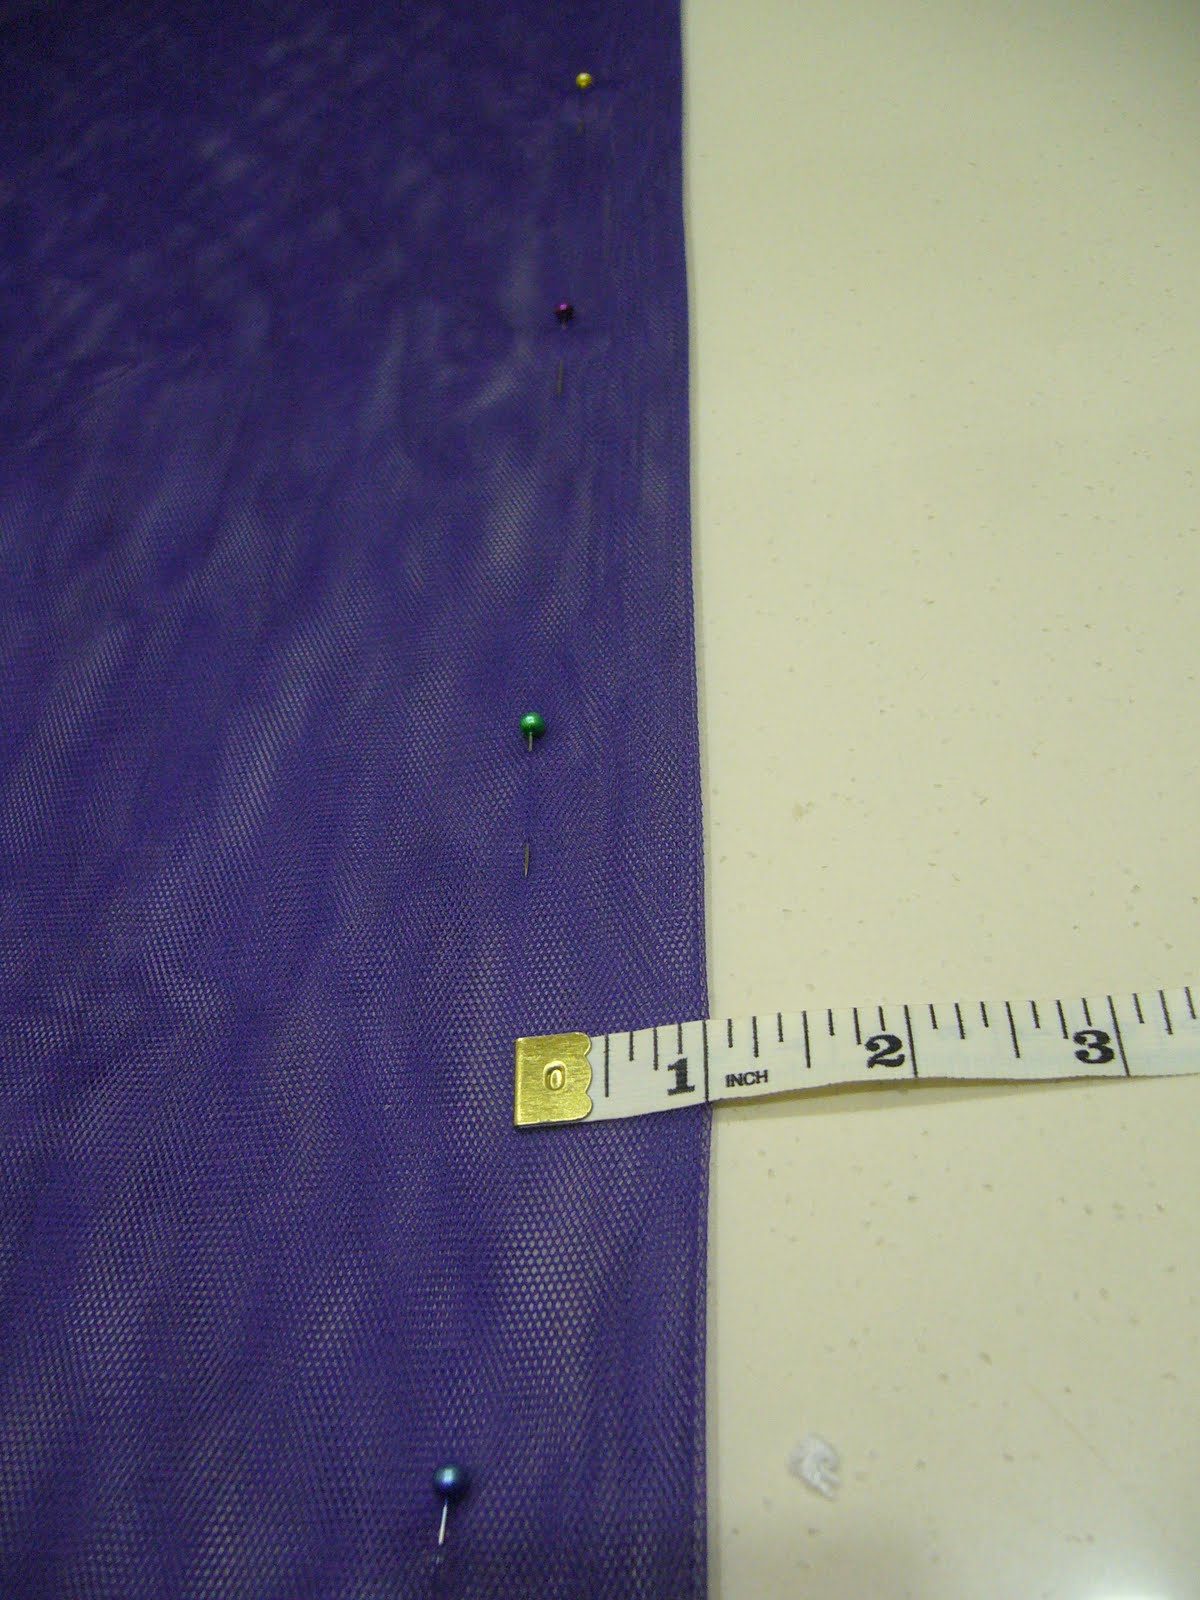
2. At the folded long side (opposite to the raw edges side above), measure 1" and tack with pins the whole length. This will be your waist.


1" waist
3. Next, fold the short side in by 0.5" and sew tight. This will ensure that your knick knacks don't fall out when you sew later.

Here the waist line is below and the side 0.5" is pinned down

sew 0.5" side seam down
4. Now is the fun part. Throw the knick knacks into the other open side seam. I've used D1's hairband, hairclips and necklace for this projects. She seldom use them and can't bear to throw them away. So I've recycled it and put them in here so she can admire them twirling when she spins! You can use anything you want with your imaginations. Sew the 2nd side seam down so that they are trapped into the tulle pocket.

5. Use the biggest thread length on your sewing machine (or use gathering stitch) to sew the 1" waist length that you have earlier pinned. Be sure to leave a long thread at end of your tulle so that you will be able to pull the thread later to gather the waistline.


6. Take the centre of the tulle at waist length and mark with a pin. Then take the 22" ribbon and find it's centre and pin it to the centre of the tulle. I've use 22" as D1's waist is 22" so you can adjust it accordingly. After you have pin it down, flip the tulle over so that the ribbon now is below the tulle.


flip the tulle over so the ribbon lies below the tulle
7. Pull the gathering stitch on 1 end so that it gathers nicely and fits into the length of the ribbon. Wrap ends of ribbon on tulle and pin the position. Do the same for the other side of the tulle.
pull thread at end to form nice gathers at waistline
Wrap end of ribbon to tulle after you have gather the stitch

View of tulle with all the pins and gathers
8. Next, lay the other 60" ribbon on top of the tulle so you have the sandwich of ribbon, tulle and ribbon. Find the centre of ribbon and pin to centre of tulle. Try to fit the tulle inside the ribbon so that it is not visible outside the ribbon sandwich.

front of tulle with 60" ribbon pin nicely on waist
see back of tulle with ribbon edge folded nicely in the 2nd ribbon
9. Sew the ribbon to the tulle slowly from the short side, making sure that the tulle is within the ribbons sandwich. If you are using the sewing machine, at end of short edge, leave the foot but keep the needle in the tulle and turn the tulle and start sewing lengthwise down to the other end.
Start from short end first

Finished tutu
That the end of the tutu tutorial. The final length of tutu is 15". You can adjust the length if you want it to be shorter or longer. I'll post the picture of her wearing it soon!