Showing posts with label hoodie. Show all posts

Thursday, June 12, 2014

Hoodies X 3 (plus a PJ pants)


I'm in the mood of sewing fleece hoodies now. Yes, here in hot and humid Singapore! I must be mad but they are so addictive. Especially when the fleece are sold at $6 per metre at Spotlights during the recent 40% sale.

Recently I realised that my local Spotlight had increase the variety of fabric and there are more interesting print for knit and fleece. Look at all those prints and I can't resist to get some.  The fleece is super soft but i think those selling at $9 is of better quality, which I used for the diamond goodies and jellybean hoodies above.  The blue floral one is nice but not as soft.

Okay, let's look that the hoodies individually.  The diamond hoodie is made from a pattern in one of my favourite Ottobre issue 4/2012.  If you want to sew jackets/hoodies, this issue is pack full with different designs.  I've used this pattern before to make the Alphine hoodie for my girl, called "Born to Run" but upgraded the size to 146 for my skinny 12 year old nephew.


It is an unlined hoodie and I left out the drawstring and pockets. I use ribbing for the sleeve cuff and hem. Managed to find a matching colour from my stash.  I even have the right length separating zipper in white! Good to always stock up at Daiso once in a while : ) 


I love the diamond print but the fleece is really very shifty.  I traced the pattern with the right side facing up so that I have better control of the layout and direction of the print. But it is not easy at times.  Thankfully, the fleece is very stretchy so little mistakes are hidden.  The hood is lined with single jersey.


For my niece, I made her an unlined hoodie with big pockets, pattern also from the same issue #33. Roxy Royal hoodie jacket.  I remove the kangaroo pocket in the pattern and replace it with another pocket from #27 Funny Fox pattern.  I also lined the hood with jersey knit and use ribbings for the sleeve cuff, pocket edge and the joint between the hoodie lining and the bodice.


The pocket pieces are sewn on top of the front panel and using flatlock stitch to stitch around the edge. But my machine didn't come with that so I decided to insert some pink ric arc between the pocket and main jacket and just zig zag the pockets down. It looks very cute and quite matching right? I'm extremely pleased with my foresight that I have just the perfect powder blue separating zipper in the right length.  I got them from Daiso again.

My niece is quite petite so I use size 128 and had enough fabric left over to make a PJ pants for my sister! 


The pattern is from a Japanese sewing magazine Female Autumn 2013 issue.


I used size L and didn't include the hem ribbing as the size for Japanese pattern is for 165 but I'm only 160. The length is just nice and the fit is perfect! I'm surprise how comfy the pant is.


The waistband fits nicely too with the elastic. I just measure my waist and cut the elastic band which i find is a better fit. I left 1" gap at the seams when I sew the waistband and use it to insert the elastic. This gap will be there after you completed the pants so that you can always adjust the elastic as you grow horizontally!

Anyway, back to my hoodie.  The 3rd hoodie is for my mum.  I owe her one hand made garment. Since I've started sewing, I didn't have courage to sew anything for my mum. She is a sewist so I was afraid that my standard will not meet her expectation. But I'm glad that I can sew her a jacket for her coming oversea trip. 

The pattern is from Ottobre Woman Autumn/Winter issue 5/2011 #6. Saturday Chilling hoodie. I use size 40 but took off some length since Ottobre is designed for height 164-172cm.  I also didn't use the recommended sleeve cuff but just use the main fabric and create a shorter length cuff.  I especially love the pockets which you can't really see from the busy print.  The pocket edge is bind with ribbing and it is quite roomy.


I only bought 1 meter so didn't quite have enough for the whole hoodie so I use the ribbing for the sleeves.  I think it works better since the sleeves help to tone down the jacket with the busy print.  I'm super super happy that I managed to line the directional print on the front! I also run out of zipper of that length so I use snap buttons which I only had 6, so it was nerve racking and I was so scared of making mistakes.  You can hardly see the white snap buttons here. Most proud of the matching print across the front : )


I cut the back piece on fold instead of 2 separate pieces to save my fabric.  To do that, I straighten the centre back seams (the original design has curve seam lines for better slim fit) so that I can cut on fold.  The jacket is also unlined and I bind the hood edge with ribbing as well.  I didn't even line the hood since the fleece is so soft and I didn't want to hide them away. The colourful print at the centre seams of the hood create an interesting feature at the back.


So, here are my 3 hoodies.  I usually try to cut my patterns and fabric on one night and leave the sewing to another night so that my sewing will not be interrupted.  Cutting and tracing really take up a lot of time and energy. I usually lose steam after all the back bending ( I trace on the floor since I don't have such big table).

I've just delivered the hoodies to them and I'm happy to see happy recipients of my gifts of love.  Sewing hoodies are so fun. It is so additive, believe me.  Now, if only I have time to sew one for my hubby and me : ) 

Tuesday, October 22, 2013

Drawstring Flannel Hoodie


Another hoodie.  This time for my 8 year old.  I've adapted the hoodie from this jacket from Ottobre 4/2012 "Born To Run" size 140. [I'm making full use of my subscription to Ottobre : )]


I've used Alpine flannel in spring flowers for the outer piece and line the hoodie with soft micro fleece in sweet lilac, both from Fabric.com.  I wanted it to be slightly bigger so that she can layer it so went 1 size up. The fit is roomy but not too big, but the sleeve is already long with the cuff and hem band. So, I decided not to put it in. Also line the hoodie since it's going to be rather cold in Japan come December.


Since I've lined the hoodie the direction for attaching the hoodie will be different.  I follow the instruction in Ottobre 6/2012 Kettu Pettunen hooded velour jacket with faux fur knit lining as a guide.  But I also changed some steps since I didn't bind the front edge of the hoodie with ribbings.

no raw seams! all encased : )

Here's the steps that I did:
  1. Stitch pockets with zippers on front bodice
  2. Stitch the raglan sleeve to front and back bodice, top stitch
  3. Stich hoodie, insert grommets and attach to jacket
  4. Repeat step 2 and 3 (except for grommets) for Lining piece
  5. Place the 2 hoods Right Side Facing (RSF) and stitch the face edge, turn RS out and stitch 2.5cm from face edge to make the channel for the drawstring. [I use some cotton cord instead]
  6. Pin necklines of outer and lining seam allowance (SA) together and stitch back neckline SA together.  [This will ensure that your outer and lining hood stays together and don't move around when you wash or wear them]
  7. Pin the hem of outer and lining together, RSF, stitch. Turn RS out and your raw edge is now nicely concealed. 
  8. Stitch sleeve edge [This part is more complicated] Bring bottom edge of outer and lining sleeves end to end, pin and stitch together RSF. THe sleeves are not within one another. Pull the lining sleeve through the main sleeves and you will have your raw seams encased. No raw edge!
  9. Fold in the front edge for inserting of separating zipper so that your raw edge is nicely encased as well.  I'm sure there is a better way to do this but for now, this will do.  
  10. Insert cotton cord or drawstring through hood channel, stitch in the ditch along centre seam line on hood so that cord will not slip out accidentally.
There! You are done.  I managed to finish it in 4 hours, a long time i know, but I was trying to figure how to line the hoodie and hide the seams plus first time inserting grommets on a hood.


Closer look at the grommet.  I didn't have the tools to insert it so I just use my craft hammer and hammer it in! I covered the top with a piece of fleece though. Not too bad from afar.


Summary of the changes that I've made:
  1. Add lining of micro fleece
  2. Remove sleeve cuff and hem band
  3. Remove the zipper trim since my zipper is already so colorful.
  4. Conceal the zipper edges between the front edges so that all raw seams are enclosed.
front edge fold in seam allowance to wrong side and insert zipper.

I used ballpoint needles and walking foot to sew my fleece.  For the flannel, I just use regular 80 size sewing needle.  I realized that my stitch is even when I use Gutterman thread.  My cheap thread always result in skipped stitch and jammed my machine. So I decided to save the agony and just buy them, though they are quite expensive.

My girl loves the hoodie because it's so colorful and has drawstring in the hood with zipper pockets! It is also ultra soft. I was sad that I didn't buy more of these micro fleece for myself.

Since the sleeve is so long, she can fold up and show some of the cute lilac lining!


Friday, October 18, 2013

Elephant Hoodie


A new hoodie for my 3 year old.  The hoodie pattern is adapted from Ottobre 6/2012 "kettu Pettunen". 


This is a lined hooded jacket using size 104.  The fit is great for layering and not too wide.


I used the flannel with colorful elephants print for the outer shell and soft micro fleece in hot pink for the lining.  All the raw seams are enclosed between the lining, even the zipper edge. So proud of myself : )

Cute details like crescent pockets which is also lined in soft micro fleece.  I omitted the knit binding on the pocket opening and just use the Sew both shell and lining Right Side Facing (RSF) and leave a opening to turn RS out and top stitch.  Do remember to add in Seam Allowance (SA) if you are doing this way.


The instruction is great but I was stumbled for a while on how to sew the sleeves together for the main and lining pieces but it was a good experience and I'll use that for future lined jackets.  I am especially proud of the sleeve cuff that actually works.  I didn't use the ribbing but the micro fleece that is really stretchy. Just remember to cut the cuff so that the stretch is across  for your toddler to insert her hands though!


The seams are all nicely concealed and not raw edges. If I've used a reversible zipper, the jacket can be reversible. But I didn't thought of it when I buy the zipper but it is still nice to conceal the ugly raw edge away.


If you are doing the same way as I did. Do remember to add in SA on the pocket opening, front facing and hood facing because you need to sew the main and lining RSF and turn RS out so SA is needed.

The hood is nice and big for her head.


Don't you just love the bright colors and cute pockets!

Tuesday, October 1, 2013

Toddler Fleece Hoodies


Made 2 fleece hoodies for my nieces recently. They are going on a family trip to Taiwan in October and I was thinking a nice warm fleece hoodies will be good for them.


The fabric was left over from the hoodies I made for my girls and it was just nice to make these knee length hoodies.  The pattern was adapted from 'Teddy Bear" faux fur knit coat pattern from Ottobre 4/2012 size 92.


For the grey hoodie, I lined the hood with the same fabric while the rabbit hoodie was has a minky chevron for the inner hood.  Instead of the recommended snap fasteners, I used self-covered buttons with kit from Daiso. I especially love the buttons from the minky. Like a furry pebble, so soft to touch.

More Winter sewing for me as I'm going to Japan this December and we need more warm clothes. But that is an excuse. I just wanted to make some cold weather wears. I've finished cutting up the fabrics and waiting to sew them up. But before that, gotta finish up some costumes for my girl's school parties...more to come

Sunday, December 9, 2012

Cozy Hoodie Jackets


It's been weeks since my last post in November and time really flies. Now, Christmas is approaching and I'm still lacking the inspiration to sew gifts. I've been searching through pinterest and the blogland for inspirations so hopefully I'll be able to sew them before Christmas!

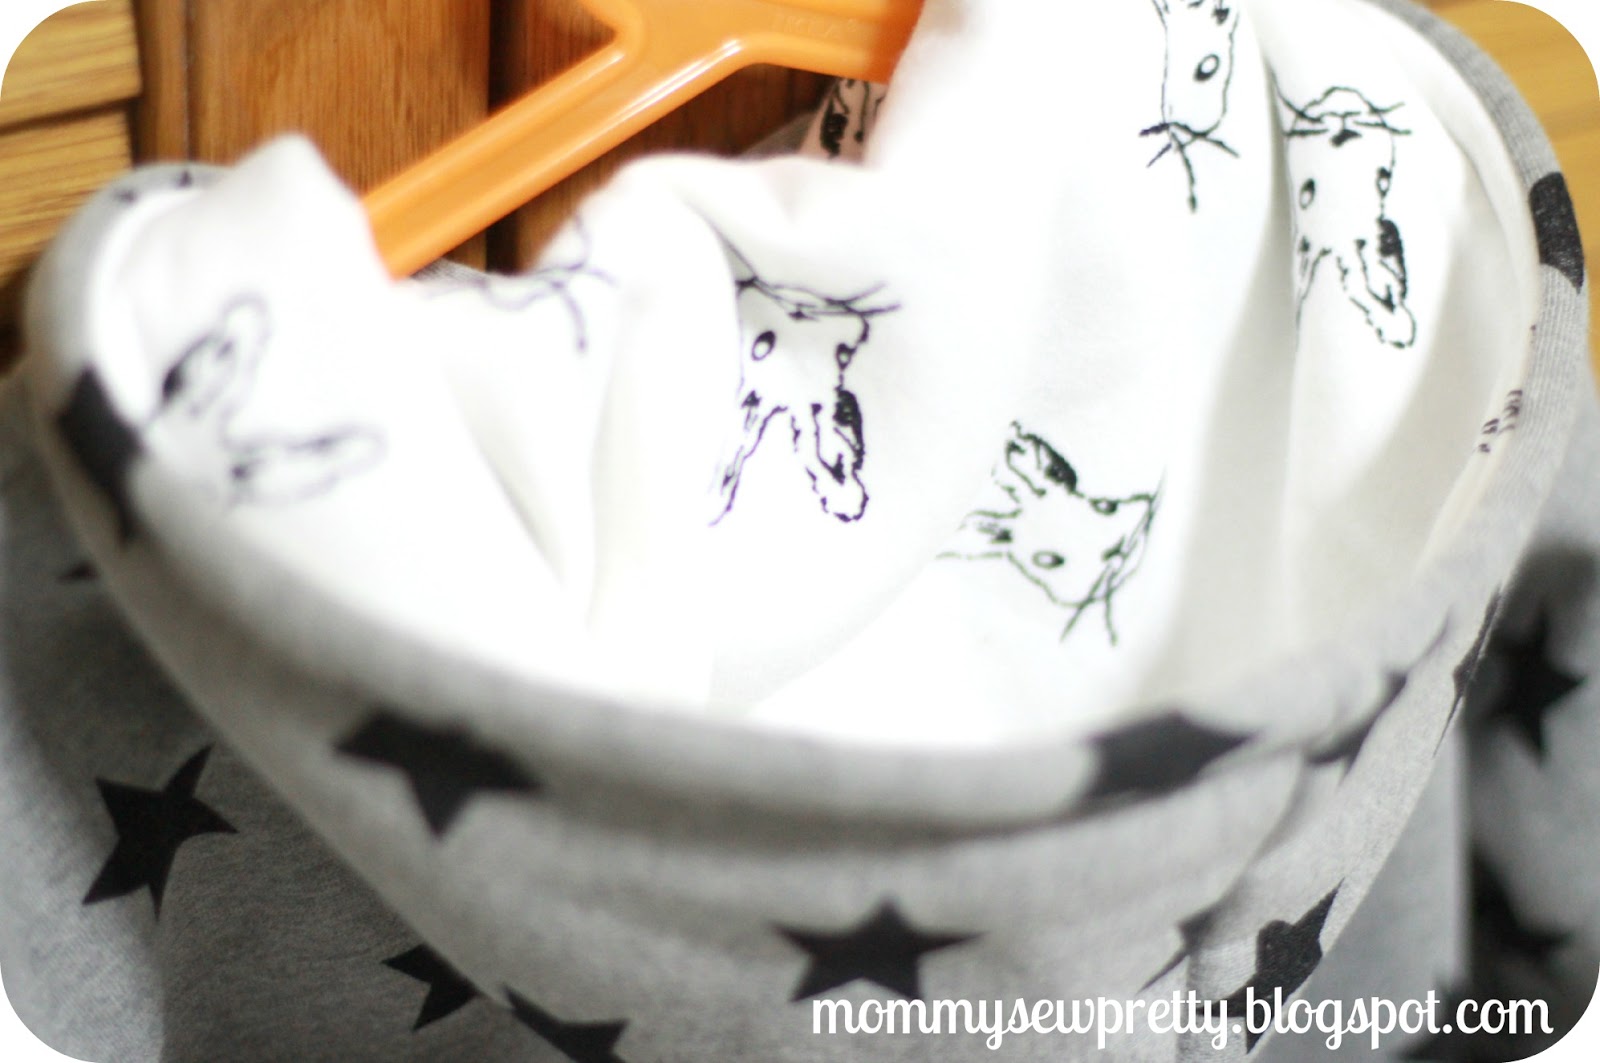
Anyway, I've meant to share on these hoodie jackets that I've sewn for my girls some time ago. I bought the fleece with fancy print from spotlight. They are really thick and warm so I didn't line the hoodie.


My youngest's hoodie has interesting ric arc around the yoke and sleeves.  I've adapted the pattern from Ottobre Autumn 4/2012 issue for Magic Tale (page 32).  I love this issues with all the beautiful jackets and winter wear.  The girls love their new jackets and wear them to church since it is quite cold with the air con in full blast.

I really like the ric rac on the front yoke. So special and pretty.


I made the following adjustments:

1) Change the buttons to zipper since installing zipper is much faster than sewing button holes, imho. Also I've got this cream colored separating zipper that I got from Daiso for $2 that is just the nice length. I did use stay tape for the zipper placket edges on front panel to stablise the area before sewing the zipper.


2) Line the hood with another fleece cause I wanted to hide the raw edge when the hoodie is off her head.  The star fleece print is from her sister's hoodie.


3) Added Kangaroo pockets cause I prefer jackets with pockets.  I copied the pocket template from another design "Roxy Royal" in the same magazine.


4) I remove the elastic on the sleeves but added a row of ric rac on the sleeves.


For my older girl, I use the pattern on page 43 "Roxy Royal".  The fleece is also from Spotlight but its grey with black star. She picked out the fabric and I got the separating zipper from Daiso for $2 that is more or less the required length.


Here's how it looks hand up.


I also line the hoodie with another fleece from her sister's jacket so she has rabbit hidden in her hood!


She didn't like the kangaroo pocket, so I use the pocket template from another design from the magazine (see how useful this issue is? I can change the design elements from the different designs!) "Young Hero" on page 36.  Except that I didn't insert the pocket zipper but use it as a welt pockets.


This is the first time I've sewn a welt pocket so it is a bit uneven but I'm still immensely happy with the results. I also remove the elastic for the sleeves.  See how the sleeve goes nicely into the pocket?


See the jackets in action here!


I think I'm more confident now to sew one up for myself : )

Tuesday, May 29, 2012

Sewing for Kids


I made a sleeveless hoodie for my girls last Sunday. It was a request from my older girl as she is into hoodie now.

It's all about attitude when wearing one!


I followed the pattern from the Japanese sewing book:

knit hoodie with attached skirt

from this book " Simple girls and boys clothes"

Didn't sew the attached skirt since it will be more versatile. My 7 year old is wearing size 130 and my 2 year old is wearing size 100.  I thought the hood and the kangaroo pocket were slightly small.  But since it's from stretchy jersey knit, it's still okay.

My kids love their new hoodies. I've bind the arm hole, pocket hem and waist band with ribbed knit that has more stretch to it.

Little sis ran forward to be in the same pic as Big sis

she waves her hand enthusiastically

Big sis not interested to have her in...
see disappointed look on little sis face! poor girl!

It was easy to follow instruction, even if you don't understand japanese since the picture is quite self explanatory.


Don't she looks lovely in those hoodie?


I'm working on some more knit sewing so come back again, cause I'm Sew into Knit!