
 |
| pouch with tissue compartment |
 |
| car seat padding |
The other round one that looks like a plate is actually a padded seat that I put on my car seat so that I don't have to burnt my butt when I get into it at the end of my work day. Singapore is really hot and average temperature is 30 degree celsius so you can imagine how hot the car will be parked under the scorching sun. The seat padding is a welcome change as now it's really cooling to seat on it since I've added padding into it. Here's the tutorials for both.
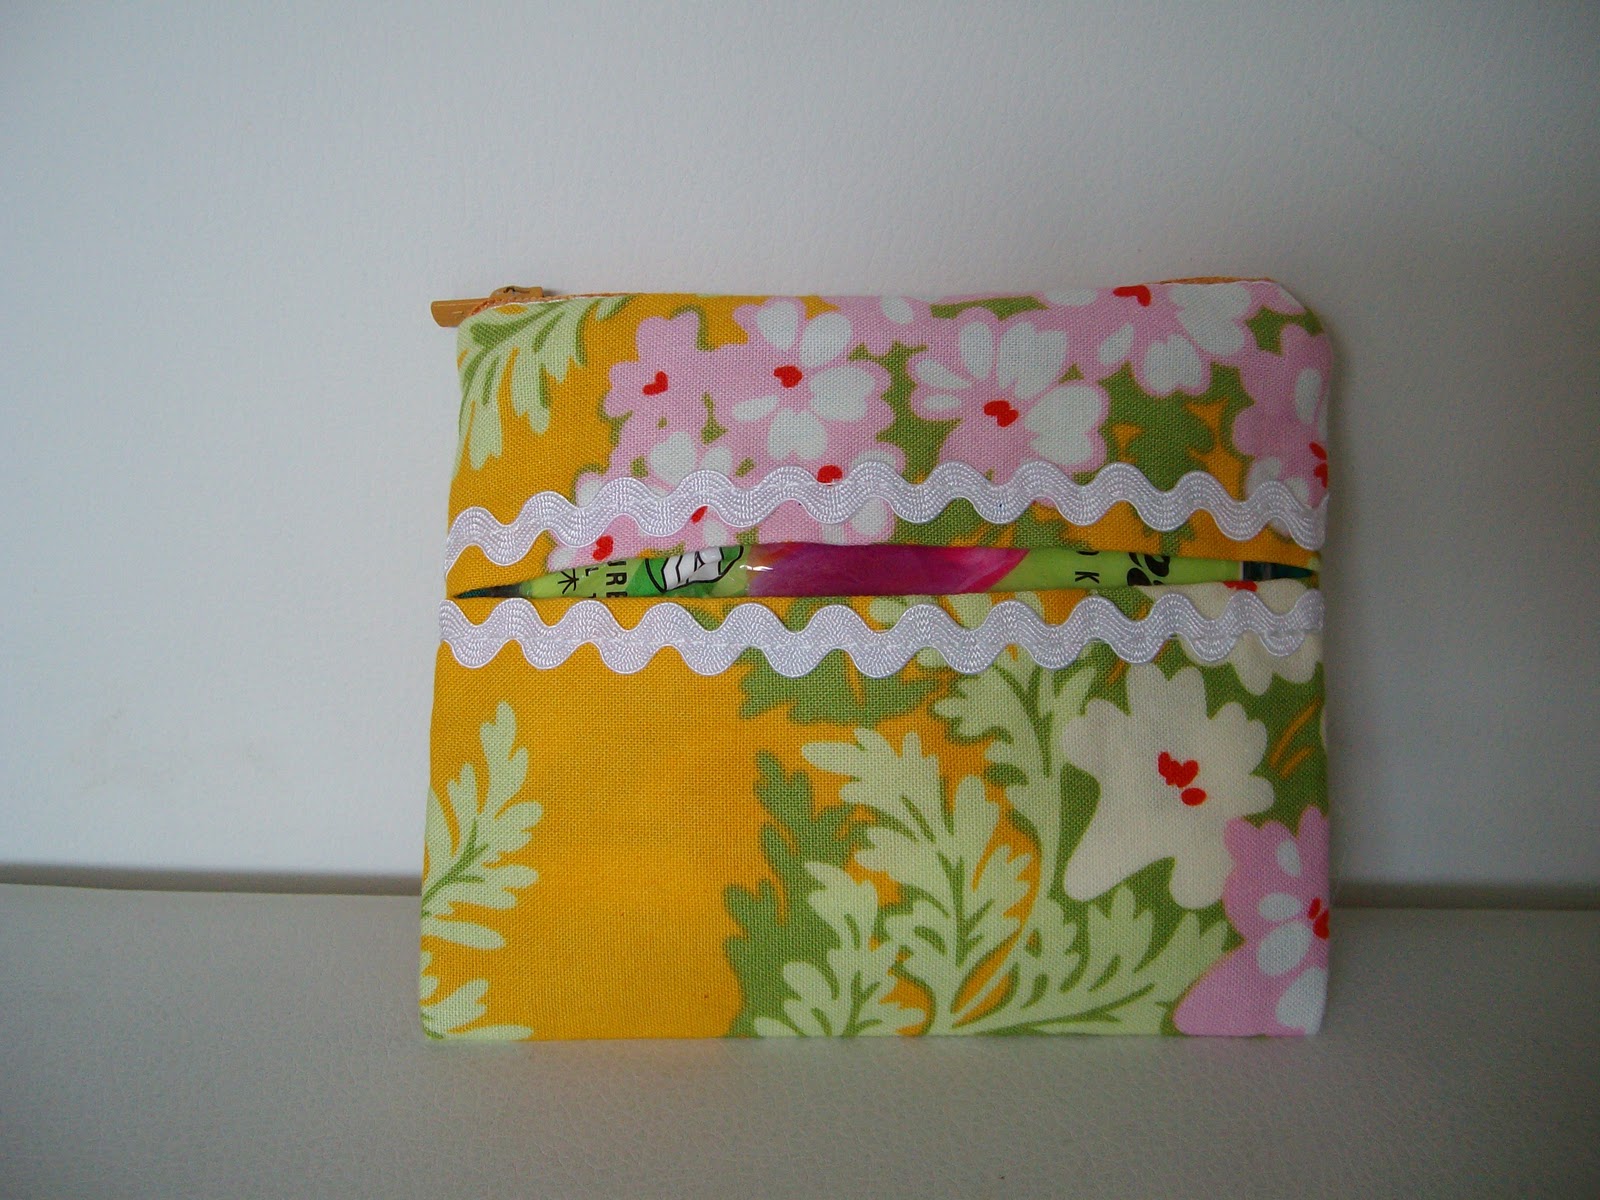
Purse with tissue pouch
Measure 5" X 4" finished
1 pc outer fabric 7.25" X 6" (including seam allowance of 0.5" each side)
1 pc outer fabric for top fold of tissue pouch 2.5" X 6" (include seam allowance)
1 pc inner linning 9" X 6" (include seam allowance)
2 pc of medium interfacing for the 2 outer fabric. cut size slightly smaller than the outer fabric
1 zip 5"-6"
Cut the fabric and iron the shiny side of the medium interfacing to the wrong side of the outer fabric.


Take the small pc of outer fabric and fold in 0.5" on one of the long edge and sew with straight stitch. This will form the upper flap of the tissue pouch.

I've added some ribbon trimming so that it will not look so plain. Put the trimming on top and sew.

Do the same for the other edge of the bigger outer fabric. The two ribbon trimmed edge will face each other to form the opening for the tissue pouch.

Lay them top and bottom neatly on top of the lining pc (right side facing down). Pin around.

Sew around the edges with straight stitch

Put the zip on top of the outer fabric with right side face down. ie the zipper pull on the left face down. Pin in place. Make sure zipper is centralised.

Use zipper foot and sew the zip in place. My zip is abit long (7") as I don't have a 5" zip so I had to snip off the excess later.


Snip off the excess zip and sew the two side edges down. DIdn't have picture as my camera ran out of battery! Anyway, after you've sewn, turn it out and you have your nice purse.

Car Seat Padding
I just eyeball the measurement and decided that by butt will be contained within 17" so I just cut 2 fabric (1 outer and 1 under) as well as a batting.
To cut the perfect circle, you can try the short cut of folding the fabric over to cover at least 9" and then double up by folding upward by 9". This will ensure that your circle when you unfold the fabric will make it to 18" which is the 17" diameter plus 1" seam allowance.
To draw that circle, take the ruler and measure 9" from centre out and make a marking. Do that all the way from bottom to the top and you have a curve line of dots. Then you link them in one line and it will form the quarter of circle.

Cut off the line and when you open up, it will form the circle of 18".

Use the first cut fabric to be the template for the other fabric and batting.


Pin and sew around the circumference of the circle with 0.5" seam allowance. snip around the seam allowance so that it will not be easier to turn and will lay flat. Leave 3"-4" for turning.


Turn it right side up and iron flat.

Using 0.5" seam allowance, sew around the edge again and you are done.

The view of the top and bottom of the seat padding.

P.S.
Now, I have a match set of my daughter's booster seat and the adult padded seat in the same fabric!


