Showing posts with label pillowcase. Show all posts

Friday, June 15, 2012

Pillow & Bolster


Ever tried making pillow case and bolster cover? 
Seriously, it is so simple and I should have done this earlier. 


I just use my girl's existing pillow and bolster as a template.  For the pillowcase, I've gotten this cut cartoon print from a neighborhood shop at Kovan market. Added a side pocket to the pillow so that her little Dora doll can sleep with her too! 


For the bolster case, I've use some red polka dots grosgrain ribbons instead of elastic band to add the cute factor!


She just woke up and cried so her nose was a bit red.  I also made the a mattress cover for her in the same fabric so that she can have a matchy matchy nap set.  It's just simply sewing rectangles so no tutorial today.


Monday, October 24, 2011

A Super Long Pillow

I made a super long pillow to put on my bed for my active toddler so that she'll not roll off the bed when she sleeps.  And I found the perfect fabric for it.

front with pillow inserted in
front cover only
The front of the pillow case is a cute fabric with Babushka dolls print from Spotlight. My bed frame is dark brown so the brown color scheme of the fabric will looks just right. This is from home furnishing section and selling at $12+ for one meter.

back view with minky backing

back cover only
The back of the pillow case is a cream coloured minky dot fabric from Spotlight on sale for $15+ per meter instead of $22. They are super soft and so nice to touch! I've mixed some of the front fabric with minky to make it more interesting.

I didn't follow any pattern as well as I thought it's quite easy and simple. The measurement is up to you as I use the length of my bed as a reference.  I'm putting a simple tutorial here in case you want to do one. I guess it will also work as a lounge pillow too!

The finished size is 50" X 15".

Material
Medium-heavy weight fabric [64" X 16"]
Minky Dot fabric [38" X 16"]
2 pc Lining fabric [51" X 16" each]

See below on the cutting size [not drawn to scale] - included 0.5" seam allowance
(Front)


 Main fabric
51” X 16"

(Back)


Front fabric
4.5” X 16”


Minky dot fabric
38” X 16”


Front fabric
8.5” X 16”


Instruction
1) To make the Back, pin the 2 side panels to the left and right side of the minky dot fabric (see diagram above) along the 16" side.  Make sure it is right side facing each other.  Align the edge and pin in place.


2) Sew with 0.5" seam allowance. Minky fabric is quite slippery so you need to make adjustment as you sew. Serge the seams if you like.

3) Put the front and back panel, Right Side facing each other and pin along the 2 long edges (51"). You need to sew them together later. 


4) Sew along the 2 long edges of the front and back to make a long tube. Press seam open.

5) To sew the lining, follow the same steps for 3 and 4.

6) Turn the pillow case Right Side out and insert it into the lining tube. Make sure that the Right Side face each other inside. Pin along one of the short edge. Try to align the seams.

7) Sew around the edge with 0.5" seam allowance. Then pull out the front fabric and you will see a super long tube.


8) Insert the lining back into the front fabric so that Wrong side face each other. Your raw seams are now hidden between the front and lining fabric! Press the fold line and top stitch along the edge so that it's neat.


9) To make the other end neat, fold 0.25" of the lining fabric towards the wrong side and press. Fold another 0.25" and press again.  Do the same for the front fabric.


10) Align the edge of the front and lining fabric and pin. Sew all around and your raw edge are now encased in between.

That's it. Insert your long pillow and you are done.

To make the pillow insert, cut a fabric measure 50" X 14.5" so that it's slightly smaller than the cover.  Sew along the long side and one short side. Turn it inside out and fill it with cotton or Hobby fibre.  I bought a 1kg pack from Spotlight at $16 after a 20% discount. After you've filled up, sew the ends shut and you are done.

pillow insert


Thursday, March 3, 2011

Personalised Pillow & Bolster cases

Remember that I mentioned in my previous post that I've a surprise gift for my parent? Well, I've just finished them. Althought it could have been better made and I made a mistake (I'll share about this later in my post), I think my parent will love them nevertheless for the effort : )

It's a personalised pillow and bolster case that I've sewn the chinese character for Dad and Mum and even our Family name.  I've bought the bedsheet with pillowcases and bolstercase from Aussino and added personal touch. Do you want to try doing it? It's actually quite simple.


Material
bought this set of Queen size fitted sheet+2 pillowcases+bolstercase at Aussino
Ready bought pillowcases & bolstercase
3 jelly roll [it's a pre-cut long strip of fabric measuring about 44" X 2.5"]
3 small pieces of linen cloth [slightly bigger than your word that you intend to print]
fabric dye & brush
some lace for decoration

Instruction
Pillowcase
1) Cut 2 jelly rolls to 39" each as we are going to wrap this strip around the short width of the pillowcase.  Mine measure 19"across the short side so [19 X 2 + 1" allowance]

2) fold in the edges along both of the long sides by 0.25" & iron flat & set it aside.

3) Print out the name, in this case, the chinese characters on the non-shiny side of a piece of freezer paper. You can adjust the size to make sure that it fits between the width of the jelly roll (with long hem ironed in). I actually had a hard time finding these freezer paper in Singapore. Got this from Cold Storage at Leisure Park Mall at B1.

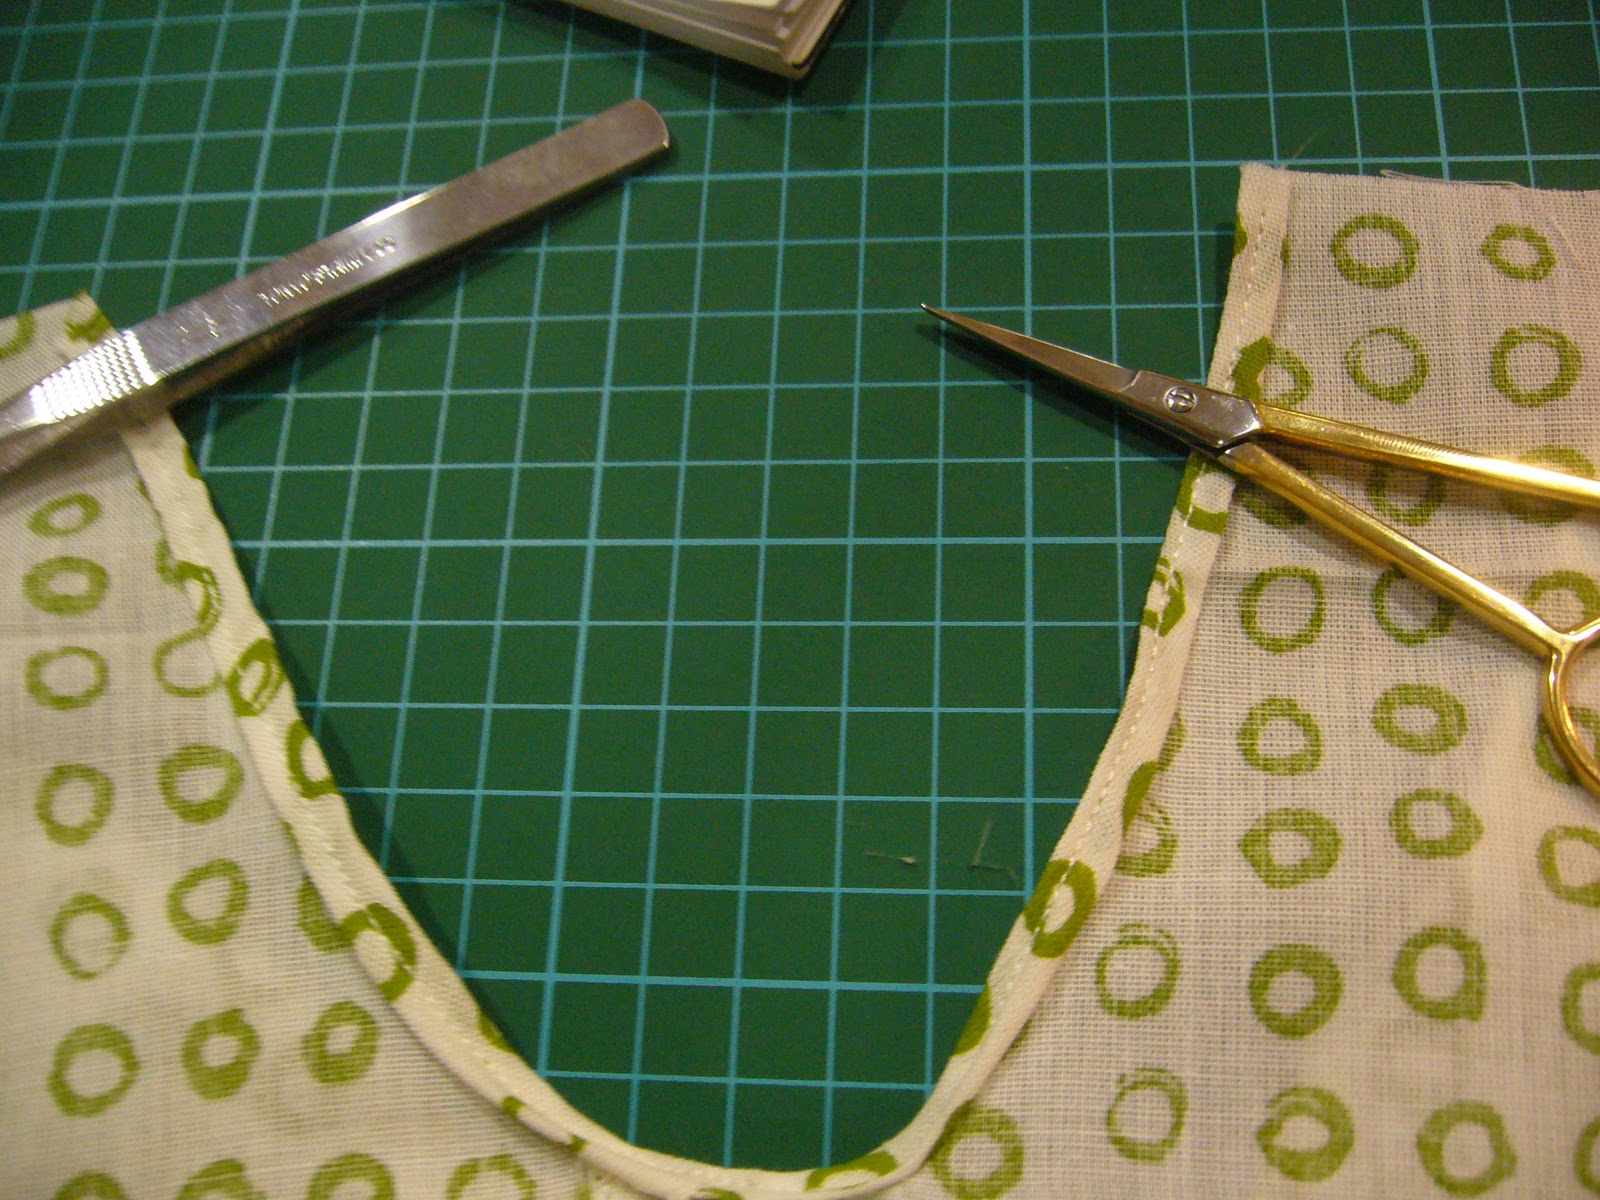
4) Use a sharp pen knife, cut out the words carefully, especially the small pieces within the words.

5) Then iron the freezer paper with the word on a piece of linen cloth. Make sure that the shiny side face the cloth. Place your iron on them enough for the paper to stick to the linen.  Too long and your paper may melt. My linen measure about 3" by 2.5" as the jelly roll is about 2"after folding in. This includes a 0.25" seam allowance for all the 4 sides.

5) Use a small brush (I've actually used my lipstick brush) and paint over the word. Be careful to place them on a piece of paper so that the paint don't go through and stain your table. I've left them to dry overnight and paint a second coat in the morning before I went to work.

6) When it's dry, you can peel off the freezer paper.

7) Iron a piece of medium weight interfacing behind each linen pieces to give extra support.  Using the soluble pen, draw the seam or the finish size.

8) You can either sew around the 4 sides of the linen piece before sewing them to the jelly roll or sew them later when you attach the jelly roll to the pillowcase. I've tried both. 2nd method is neater but require alot of pins and precision to get the hem all tucked in. Below shows the 1st method. I've went round the 4 sides, trying to sew as close to the edge as possible and tuck in all the raw edges. Make sure that the whole piece fits within the jelly roll. You should place your jelly roll on the pillowcase and mark off where you want to place the words.

9) Next, mark 2" along the short edge of the pillowcase using a soluble pen.

10) Cut out a piece of lace measuring 19.5"and place along the drawn line. My lace is only for the front of the pillowcase. If you want the lace to go around it, you should cut double the length.  Next, line your jelly roll with your word slightly overlapping the lace. I've chose my wording to be in the centre. Pin in place.

11) Flip over the pillowcase and continue to pin the jelly roll along the 2" line. For cleaner look, the start and end of your jelly roll should be at the back. Just make sure that you fold the raw edges at both ends in before you sew them. Sew around the jelly roll along the 2 long sides. If you choose to sew the linen pieces now, make sure you go over all the 4 edges of the piece.

Congrats! You've just finish 1 pillowcase. You can do the same for the other pillowcase but make sure that you now do the sewing on the other side of the pillowcase cause you want them to mirror each other when you place them on the bed. I made the grave mistake of happily sewing on the same side : ( Don't make the same mistakes okay?

Bolster Case
1) Cut the jelly roll to length 40", including a seam allowance of 1"as the circumference of the bolster is 39".

2) Same step as above to iron the hem on both of the long edges in.

3) Cut the lace to be 40" long as I wanted it to go round the bolster since this is round and has not fixed front facing.

4) Sew the linen piece on the jelly roll after you have decided on the position on the bolster. Place the lace, jelly roll on 1 end of the bolster. Pin and sew in place. You are done!

I didn't sew any on the fitted sheet since it gathered around the edges, making it impossible to sew a straight piece of jelly roll on them. I can't wait to see them on my parent's bed. : )

Monday, October 4, 2010

Pillowcase dress

Remember the pillowcase that I bought from Ikea last friday? Well, can you guess what I've made from it? It's a pillowcase dress! Quite easy as there is many such tutorial on the web but this one that I've made is from my own design as I've adapted some and made modification myself.  Did you guess it right? Why don't you join me as this is really a simple project and you will be surprise how well it turn out!

Material
1 pillowcase
3 strips of jelly roll (measuring 2.5" X 42" each)
matching thread
button for decoration

Instruction
Cutting
First fold the pillowcase lengthwise into half with the open side place the the bottom. Cut a J shaped from the top left hand side (open side) opposite of the folded side.  The measurement from the tip end of J to the bottom of the pillowcase is the total length of your girl's measurement from her armpit to her knee (depends where you want her dress to end). For my girl, her measurement was 22". So, I measure 22" from bottom of pillowase and make a mark.


Then I use a curve ruler and make the J shape. The top of the J will extend about 4" into the pillowcase.


Then, at the end of the J, measure 2" inwards and draw a diagonal line from the 2" to the bottom edge of the pillowcase. This will give the dress some shape, else the dress will look too boxy.


Cut off the J shape and the diagonal triangle at the side. You can also trim off about 4" from the top of the pillowcase as I will be adding the neckline later. See below.


Side seam
Open up the pillowcase and turn it inside out. Pin the 2 sides together and sew them from arm hole to hem. I've use the zig zag stitch to sew the edges to prevent fraying.


Hem
Take 1 jelly roll (measuring 2.5" by 42") and sew a 0.5" seam.  Pin the other unsew edge (right side facing each other) to the hem of the dress. Sew the raw edge to the hem of your pillowcase dress. Press open seam. You now have a new hem to your dress.  You should have some extra left over after you have done sewing the hem. Keep this aside as later we can use this to make a decorative ribbon.


Arm holes
Next, fold in 0.25" of the arm hole area and press. Fold another 0.25" and press. Sew a seam around it. Do it for the other arm hole.

Neckline
Fold in 0.25" of the neckline and press.  Sew the biggest stitch (gather stitch) along the neckline at and leave a long thread at end of the sewing. You will then use this thread to pull and gather the neckline. Do it for the other neckline.

Put 2 strips of jelly roll right side facing each other and sew the side edges and 1 side of the long edge. Turn over and press.
 
Now is the tricky part. Read the instruction carefully. Measure the middle of the strip and place a pin to mark the spot.


Then, fold in 0.25" on the unsew side of the strip and press.  Place the strip with the open side facing the gathered neckline you have sewn earlier. Put the open side of the strip to cover the gathered stitch of the neckline as shown below. Pin them in place for both front and back necklines.


When you position the strip, make sure that you have about 2.5" from centre of the strip to the start of your neckline (see blue line below).  After you have done with the 2 necklines, you should have about 13" left on both ends which you will use a bow later. Make sure that the both ends are equal in length.


Sew the strip to the neckline starting from the short side. Sew all the four sides, be sure to sew in the gathered neckline.


Flower ribbon
Remember the extra strip left over from your hem? Well, sew a big gather stitch in the middle of the strip and pull the thread so that the strip gather nicely. Either use a glue gun or stitch the ends together.


Put a white button on the bottom of the half-moon flower to hide the gather and sew them to the new neckline.


There! Now you have a beautiful pillowcase dress. If you find sewing this neckline stressful, you can also try the other version to sew a loop over the neckline and thread your ribbon through it to make a big bow. Let me know if you have try the above and I would love to see your versions!