Did I mentioned that I've lost my beloved white samsung flipcover handphone? Sob, it went missing when I put in the toilet cubicle of a hotel that I went to attend my church friend's wedding dinner. I was very sad as all the photos of my baby are in it and I didn't back-up! My husband tried to call the number but the person who picked up the phone just shut down my phone. So, gone with the wind.
Anyway, had to get a phone. I didn't consider iphone as my husband already had one and it was heavily used by my girl to play games. Didn't want another at home, so I resisted and bought a new white (yes, white again) Samsung (yes, I love samsung design)
Galaxy Ace. It was quite light and looks abit like iphone with touch screen and all. Bought a data plan at $39 monthly with it so now I can read my mail and blog anytime without turning on my laptop. Ok, I didn't use to have this as it didn't dawn on me that I need them. Well, now that I've it, I'm making lots of use of it.
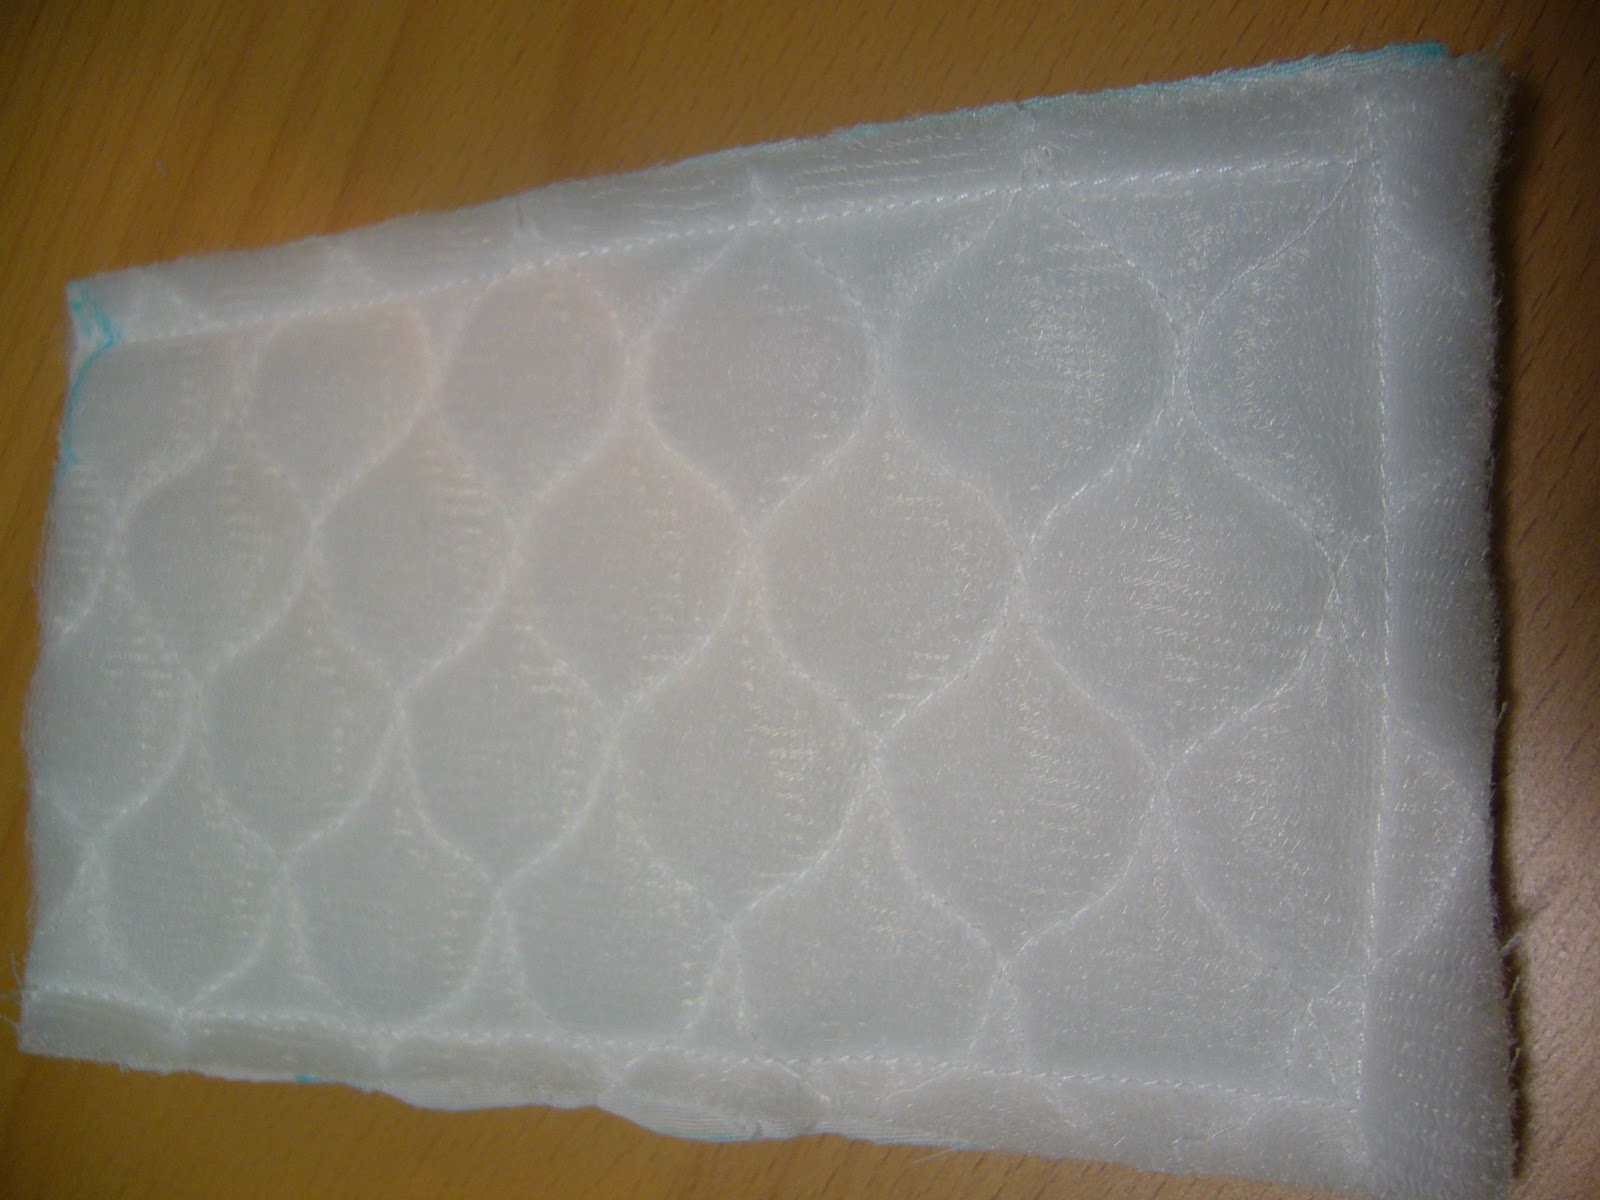
To protect my phone from being dropped and accidentally smashed to pieces, I sewn a cozy to keep it. Used a turquois coloured polka dots and strips cotton fabric to make the main cover and inside, used a padded cotton fabric which was left over from my name quilt. I've added magnetic snap infront and attached a clip at side incase I want to snap onto a lanyard. It's about 5" by 3" finished size. If you are interested, I've added a short tutorial below.
Material for outer cover
2 pieces of 5" X 3.5" stripped cotton fabric
2 pieces of 2" X 3.5" polka dot cotton fabric
2 pieces of 6: X 3.5" iron on interfacing
Material for inner cover
2 pieces of 6" X 3.5" padded cotton fabric [if not available, you can insert a padding with the inner fabric]
Other materials
1 piece of 4" X 2.5" strip to be the snap strap
1 piece of 1.5" X 1" strip to be the clip strap
1 piece of 4" X 2.5" iron on interfacing
1 clip snap
1 magnetic snap
Instruction
Sew front cover piece
1. Cut the fabric and sew the stripped and polka dot fabric together. You can decide if you want the polka dot to be top or bottom. I've choose the stripped to be at the top. Sew with 0.5" seam allowance. Do the same for the other 2 pieces. Press the seam open. You now have 2 pieces of 6" X 3.5" fabric.
2. Iron on the 2 interfacing to the wrong side of the 2 pieces of fabric.
Sew clip strap
3. Fold the clip strap into half with right side facing so that it's now 1.5" X 0.5". Sew with 0.25" seam allowance on both long edges. Turn it right side up. Press. Insert the clip through the strap and fold into half again. This is ready to be inserted to the seam of the cover.
Attach 2 cover pieces tegether
4. Pin the 2 cover fabric with right side facing, matching edges. Insert the folded clip strap to the side of the cover, about 1" from the top edge. Sew around cover from right to left using 0.25" seam allowance, leaving the top edge unsew. Clip corners.
Attach magnetic snap to front strip
5. To attach the magnetic snap, draw the 2 slits on the top middle of the cover fabric (wrong side). You can just eye ball the position and use the snap back piece as a tracing tempalte. Use seam ripper to cut the marked area to make 2 slits. For better reinforcement, insert a piece of interfacing before you put in the snap back piece and snap. The snap piece should be place on the right side of the fabric.
Sew inner fabric
6. Sew the inner padded fabric together with right side facing each other with 0.25" seam allowance but keep the top unsew. You pin them together, matching the edge, and start sewing from the top right corner, down to the bottom and up along the left seam. Same steps as above but you leave a little gap at bottom of the inner layer for turning later. Turn the cover right side out.
Assembly of both covers
7. Insert the inner fabric into the outer cover so that the right side face each other inside. Align the side seam and pin in place.
8. Sew around the top opening circumference using 0.25" seam allowance. Flip the cover out and through the gap in the seam of the inner piece. Push the inner layer inside the cover and you are almost done.
Snap strap [sorry, no photo here]
9. The last part is to attach the strap to put in the other part of the magnetic snap. Iron the 4" X 2.5" interfacing with the snap fabric strip.
11. Fold the fabric with right side facing so that it is now 4" X 1.25". Sew around along the long edge and one short edge (L-shape) with 0.25" seam allowance, leaving one side of the strip unsew.
12. Attach the other half of the magnetic snap using the same method as above. Make sure that the front facing of the snap is on the right side of the fabric. Once done, turn the strap over to the right side.
13. Sew around the top edge again with 0.25" seam allowance. Fold in the raw edge of the opening and sew it to the back of the cover.
14. If you like, attach a cute butterfly button on the snap using hot glue and you are done!