Thursday, October 28, 2010

I'm inspired for another tutus

I'm inspired again to make some more tutus for my girls. One of my cousin from my husband's side is getting married next month. I was thinking that it will be fabulous if I can make a matching fairy-like tutus for my 2 girls as D1 is given the big role to be a flower girl! Well, the baby is still too small yet but it will be cute to see them wearing the same tutus. 

I was also inspired by these beautiful tutus that I seen on Esty here and here and here. So beautiful.


Was thinking if I should order them instead of pulling hair making one. Ain't they beautiful? Oh well, my husband would say that I should just try my hand on it since the wedding is come in 2 weeks time, the shipment may not get here on time. Hmm...if I'm successful, I may even make one for myself : o P
We'll probably look like the 3 fairies in the sleeping beauty. hahaha...

ok. got to stop dreaming now. All these thinking and browsing really makes me excited. Hmm.. got to quickly get the tulle and ribbons for the big project now.  Will definitely post them if that come to pass.

Monday, October 25, 2010

Jelly Roll Tissue Pouch

Over the weekend, I thought I could maybe finish up a jelly roll sling bag but sadly, I couldn't find the time to do it. Baby was cranky and cried non stop from 3am to 5am! Had only time to do simple sewing as I need some distraction. Since I've some jelly roll set aside for the bag earlier on, I decided maybe I can use that 1 hour or so to do some tissue pouch since my sister was asking about it.

Took some time to select the right colour combination. As I'm using only jelly roll, I had to make sure that the size fits a actual tissue pack. A normal kleenex tissue pack measure about 10cm x 7cm. Need to give some allowance as well.

I didn't have time to take photo as this is relatively an easy sewing project and you can finish it all in 1 hour, quicker if you can made up your mind on the fabric combination to choose! I've used 2 different print - green flower and green stripes. You can also use regular fabric. I'll do another tutorial in the next few days.

Materials
4 pc green stripes jelly roll of 20cm length each [for inner layer and design on outer layer]
2 pc green flower jelly roll of 20cm length each [for outer layer]

Instructions
For the inner layer, sew 3 stripes of green stripes jelly roll together on the long side with 0.5cm seam allowance.
For out layer, sew the stripes in the same way but in the order of green flower+green stripe+green flower.

Place the 2 layers together with right sides facing each other. Do take note of the print cause this will decide how the front will look like. Adjust so that the middle stripe is centralised. Sew along the short side using 0.5cm seam allowance (see below. I don't have the correct photo, but remember to sew on the wrong side!). Turn right side up and press with iron. Sew again on the short side with right side facing up. This will become the opening of the tissue pouch.

Then, fold these 2 side that you have just sewed equally towards the middle.  Make sure that the outer layer (the print that you want to face out) is now face inward. It will look like a tissue pouch.  Press with iron. Sew along the 2 short sides with 1cm seam allowance. Trim the seams neat. Turn the pouch inside out and sew along the short ends again. The final result below.  Will do some more and post photos soon!


Wednesday, October 20, 2010

Pretty changing mat with diaper pocket

As mentioned yesterday, I decided to sew a changing mat for my baby. As I've to manage my girl and baby alone every sunday to church, I realised that I need to have great organising skills else I might be leaving something essential behind without realising it. I remembered once I forgot to bring wet tissue and panic when she poo poo in her diaper : - (

Well, to do that, things got to be organise in category. Diapers, wet tissues, changing mat, nappy cream etc need to be put together in 1 pack. Since I'm making a new changing mat, I thought why don't I make a bag cum changing mat so that I can also carry all these items without having to pack them separately. That will minimise the possibility of me losing the items. Great idea huh!

changing mat nicely folded up

And that's what I did. I made a very long changing mat and fold up the bottom part to make the pocket where I can store her diaper, cream, wet tissues etc etc. The finish size is about 28.5" by 15".  I've use Nicey Jane fabric for the outer layer and polyester fabric with light batting for the inner layer. It has a thin padding so baby will feel comfortable lying on it and it's waterproof! Ha, I can wash it in the washing machine or just wipe it with wet towel and it's good to go.  It even has a nice ribbon with velco tape to tie them up nicely.

nice big pocket for diapers, cream and wet tissues.
open up with pocket and ribbon tie

Doesn't it look nice? Now I can bring it around proudly as this is uniquely mine. Plan to sew her name on the ribbon or something later. Maybe I should make some and sell them. I've got many nice pretty fabric...anyone interested? :o)

Tuesday, October 19, 2010

It's finished!

I've finally finished the quilt for my daughter. It's a simple name quilt using 8 layer cakes around the borders with her name applique on it. I've actually took the design by Melissa Mortenson at Moda Bakeshop - click here and adjusted the measurement as it's not a baby quilt but a quilt for my 5 year old.

Since there is already a tutorial, I'll not go into the details.  I've followed roughly to the same steps, except that before I start, I took a measurement of my girl's height so that I know the estimated length I want the quilt to be.

I chose the 3 colour schemes from the Breakfast at Tiffanys Layer Cakes pack - red, blue, yellow. Cut the layer cake (10" X 10") into 2 so that each measure 5" X 10".  Then lay the layer cakes 4 by 4 around the border.  My final measurement is 39" X 48" including the binding which I made myself following the tutorial from Loft Creation - here. She has a fanastic tutorial on how to attach and sew  the binding to the quilt too. It's quite easy to follow her instruction, just need to have some patience.

My sewing machine was throwing a tantrum when I was putting the quilt front to the backing and I almost gave up hope of finishing without pulling out my hair. The thread skipped and break off. I had to adjust the tension up and down so many times and changed my needle before I got the sewing going. Hand sewing the binding was time consuming but I would say, relatively easy after messing with the sewing machine for the longest hour. phew!

Just to share that I did a short cut for this quilt as I had originally intended to finish it off before I go to OBS but then, the sewing machine was giving me lots of problem, so... Anyway, I bought a quilted calico as the backing so I've saved time cutting the backing and batting as well as quilting the quilt. Since the backing is already quilted, I've left the front simple with only a straight line sewing around the inner borders.

I was overall really happy to finish the quilt. Now, she can have a new one to bring to her school.  There, see the pretty quilt below. Will be starting on a new project soon for my baby. Her changing mat is really simple and old (a pass me down from her sister). Thought I'll do a nice one for her :-)

Saturday, October 16, 2010

I'm back!

Did anyone notice that I was missing in action for the past 1 week? Well, I was away from the island. Guess where was I? ahem..I was on Outward Bound Singapore!

Surprised? Well, for those who knew me. I'm not a very outdoor person and I actually dreaded to go for this 5 days cutter course that I was kinda 'volunteered' to go. But, I always knew that the experience we get will be a direct result of our attitude. So, when I board the boat to OBS, I told myself to be positive and open to receive new challenges.

the cutter we were on for the 2 D 1 N trip

Indeed, it was a really fulfilling but tired experience. I enjoyed the new experience on the cutter and made new friends. It was difficult at first to put aside my kids and work for this course but I'm glad I took the challenge to try it out. As we are on the island, it reallys give us time to reflect on our actions and our directions to take. Like the small rudder that dictates the direction of the cutter, our small actions may have greater impact than what we think if we are not careful. It's important to work together to reach our common goal. I felt much rejuvenated and happier to go back to work with the new found insights and friendships.

So now, I'm back to finish up my sewing. Had intended to finish up a quilt for D1 but had to do the last minute packing so it was left to the binding stage. Will try to finish it up tonight so that she can bring it to her preschool. She was really looking forward to bring them to school.  Will share more on the quilt when it's done.

Friday, October 8, 2010

Bibs for Babies

I did it! Was trying to find time to do some sewing the past few days but really too busy with work and the children. Finished 2 bibs last night! Was immensely proud of them. 1 is for my best friend's baby boy and the other for my little baby.


I've sewed the first initial of their names on the bib to make it special and unique. This will not be a tutorial as I've done it fairly quickly and didn't take much photographs till I finish. But if you want to try it at home, you can just take a bib that you have and trace the outline on 2 pieces of fabric (front cartoon fabric, middle fabric and nylon fabric). I've use the nylon material for the backing as I want it to be water proof else the bib will get wet with the baby's drool and soil the clothes.

The first one for my friend's baby is blue with car motifs and blue trimming. This one takes longer time as I made the bias tape myself since I couldn't find the same colour. I used the special sewing stitches to make the pattern around the trimming. Nice?

My baby's bib is more plain as I've used the left over stash (see the resemblance of the once pillowcase?!!) and cut 2 fabric for the middle piece and backing.

Anyway, I've just finished a fantastic book that really inspired me to pursue my dream and passion. It's called "Live what you love". I'm attracted by what this say on this back cover "Have you ever dreamed of turning life upside down and inside out, and really living as your heart would have you? Do you push your dreams out to 'someday' conditioned by 'if only'? Are you stuck between the life you have and a life you would really love?" 

Wow! powerful. I felt that way sometimes. So I'm trying to live my life daily with passion. To do things that I love. I can't change everything overnight. But I know I can change little things in small way myself. Like taking up sewing and be creative in creating something that I love for my beloved family and friends. It brings great satisfaction to see their eyes lit up when I gave them the things I've sewn. Somedays when I've more time and made enough of my pieces, I'll be able to sell them and live my dream to 'live what I love'!

oops. can't seem to turn it upright. nvrmind, you can still read the title right?

Monday, October 4, 2010

Pillowcase dress

Remember the pillowcase that I bought from Ikea last friday? Well, can you guess what I've made from it? It's a pillowcase dress! Quite easy as there is many such tutorial on the web but this one that I've made is from my own design as I've adapted some and made modification myself.  Did you guess it right? Why don't you join me as this is really a simple project and you will be surprise how well it turn out!

Material
1 pillowcase
3 strips of jelly roll (measuring 2.5" X 42" each)
matching thread
button for decoration

Instruction
Cutting
First fold the pillowcase lengthwise into half with the open side place the the bottom. Cut a J shaped from the top left hand side (open side) opposite of the folded side.  The measurement from the tip end of J to the bottom of the pillowcase is the total length of your girl's measurement from her armpit to her knee (depends where you want her dress to end). For my girl, her measurement was 22". So, I measure 22" from bottom of pillowase and make a mark.


Then I use a curve ruler and make the J shape. The top of the J will extend about 4" into the pillowcase.


Then, at the end of the J, measure 2" inwards and draw a diagonal line from the 2" to the bottom edge of the pillowcase. This will give the dress some shape, else the dress will look too boxy.


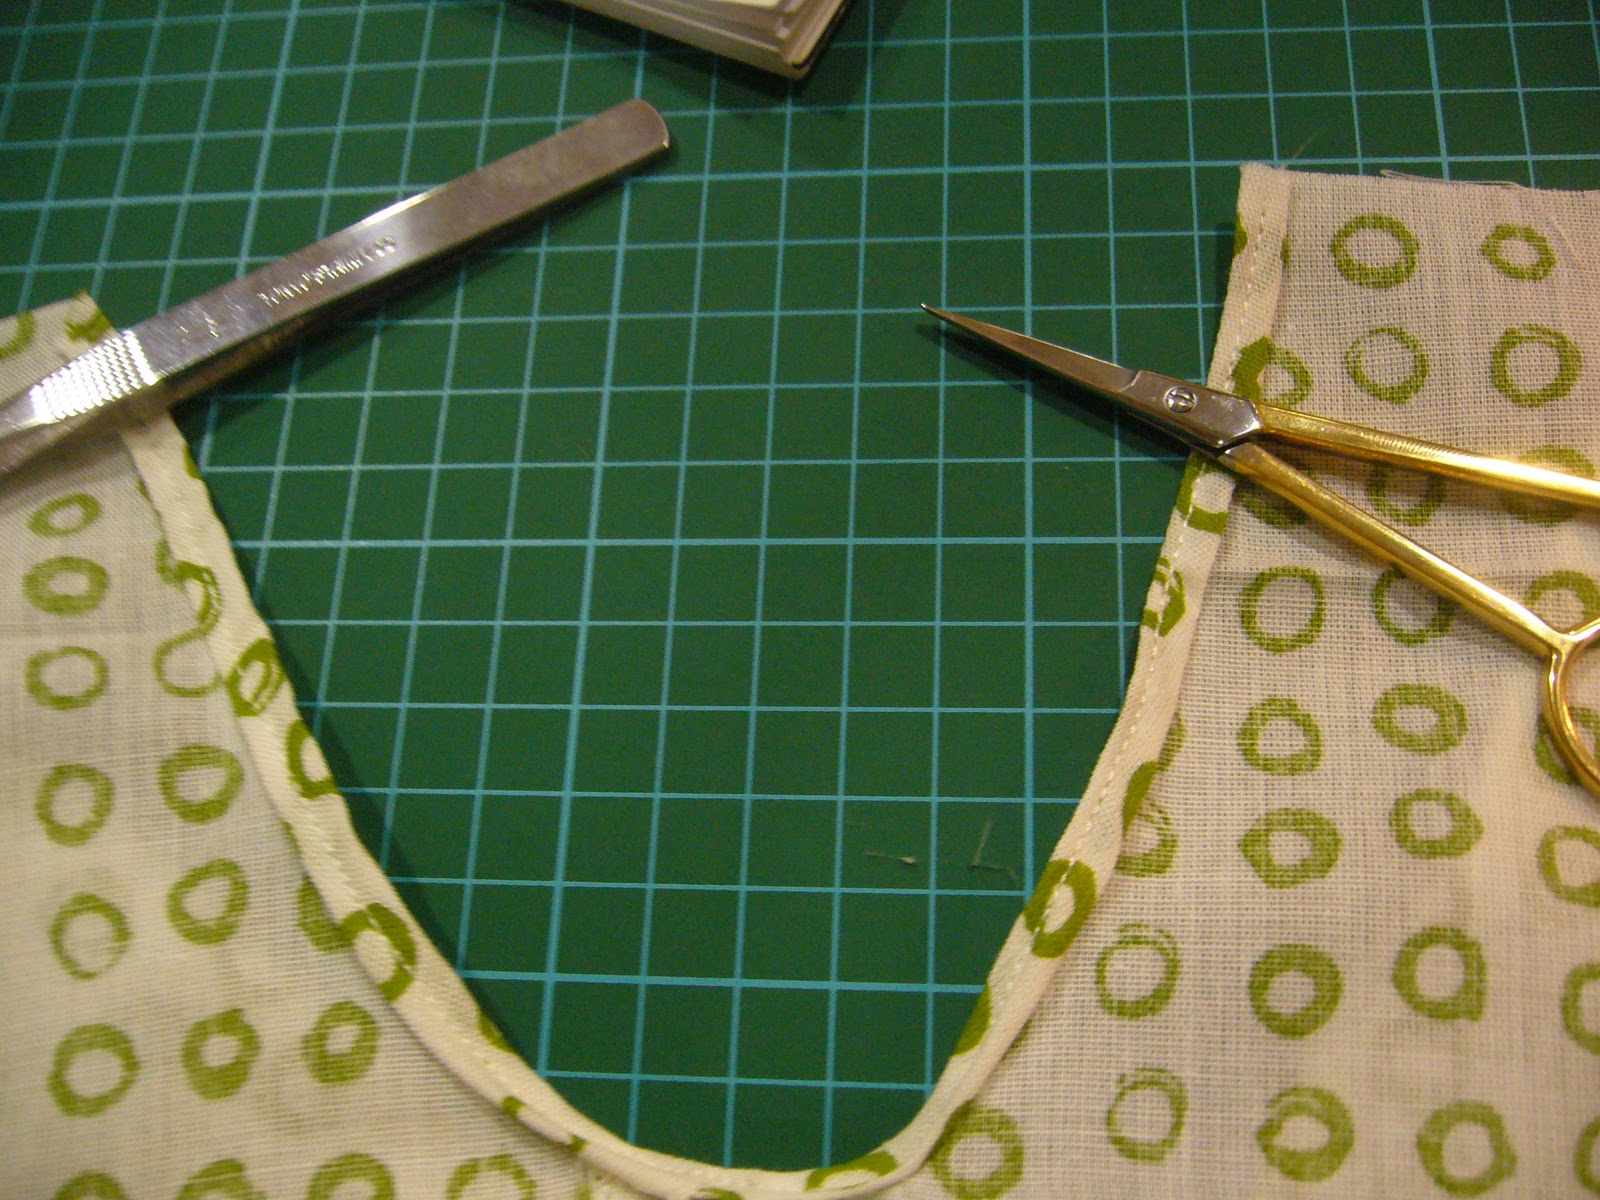
Cut off the J shape and the diagonal triangle at the side. You can also trim off about 4" from the top of the pillowcase as I will be adding the neckline later. See below.


Side seam
Open up the pillowcase and turn it inside out. Pin the 2 sides together and sew them from arm hole to hem. I've use the zig zag stitch to sew the edges to prevent fraying.


Hem
Take 1 jelly roll (measuring 2.5" by 42") and sew a 0.5" seam.  Pin the other unsew edge (right side facing each other) to the hem of the dress. Sew the raw edge to the hem of your pillowcase dress. Press open seam. You now have a new hem to your dress.  You should have some extra left over after you have done sewing the hem. Keep this aside as later we can use this to make a decorative ribbon.


Arm holes
Next, fold in 0.25" of the arm hole area and press. Fold another 0.25" and press. Sew a seam around it. Do it for the other arm hole.

Neckline
Fold in 0.25" of the neckline and press.  Sew the biggest stitch (gather stitch) along the neckline at and leave a long thread at end of the sewing. You will then use this thread to pull and gather the neckline. Do it for the other neckline.

Put 2 strips of jelly roll right side facing each other and sew the side edges and 1 side of the long edge. Turn over and press.
 
Now is the tricky part. Read the instruction carefully. Measure the middle of the strip and place a pin to mark the spot.


Then, fold in 0.25" on the unsew side of the strip and press.  Place the strip with the open side facing the gathered neckline you have sewn earlier. Put the open side of the strip to cover the gathered stitch of the neckline as shown below. Pin them in place for both front and back necklines.


When you position the strip, make sure that you have about 2.5" from centre of the strip to the start of your neckline (see blue line below).  After you have done with the 2 necklines, you should have about 13" left on both ends which you will use a bow later. Make sure that the both ends are equal in length.


Sew the strip to the neckline starting from the short side. Sew all the four sides, be sure to sew in the gathered neckline.


Flower ribbon
Remember the extra strip left over from your hem? Well, sew a big gather stitch in the middle of the strip and pull the thread so that the strip gather nicely. Either use a glue gun or stitch the ends together.


Put a white button on the bottom of the half-moon flower to hide the gather and sew them to the new neckline.


There! Now you have a beautiful pillowcase dress. If you find sewing this neckline stressful, you can also try the other version to sew a loop over the neckline and thread your ribbon through it to make a big bow. Let me know if you have try the above and I would love to see your versions!


Saturday, October 2, 2010

What I've been up to

I'm still waiting for my shipment of fabric to arrive from the States. In the meantime, my hands ache to do some project with the existing fabric I've. I've this Jelly Roll fabric which is very sweet pastel and I thought it will make a very sweet pencil case.

Took my some time to come up with the design and layout of the case since it will be made from stripes of 2.5", it's a challenge to keep to that size. As I'm working out the design as I go, I didn't take much photos so today's blog will not be a tutorial.


front
back

inside
Basically I've cut smaller strips of print from 4 Jelly Roll strips to form a pattern for the front of the bag. The front top and bottom pieces and the back are made from 1 strip (42"). I even do a small pattern behind the bag of the same 4 strips behind. Sound complicated? Well, it's kinda labour intensive to lay the fabric and sew them one by one but I'm satisfied with the end results since it's very sweet looking : ). I've even created a fabric tie on the zipper pull tab!


Yesterday was 1 October - Children's Day. I took D1 to Ikea as it was her favourite spot but boy, all the kids in Singapore were there! She didn't get to go into the smartland cause there were 110 kids in queue before her! Decided to drop her at the children department and took a walk to the textile department to take a look.  Saw a quilt cover and pillow set for $9.90! Guess what I'm going to do with it? Make a guess. I'll post about it next time.