Saturday, December 29, 2012

Tea towel turned Apron Skirt


Who will ever thought that this used to be tea towels?!!

If you are a regular to Ikea, you will probably recognize this set of pink floral tea towel set from the kitchen section in Ikea.  I bought 2 sets to make this skirt. The front and back are made from 2 tea towels.  And the front apron is from another tea towel in the set.


Sorry, no tutorial here. Basically, you just remove the stitches from the side and sew 2 tea towels together along the side seams. No need to hem the skirt since it is already done on the tea towel!  I've cut out the front apron according to the length that I need and sew them below the elastic waist band. Just make sure that the apron length is slightly shorter than your skirt.  I then fold over the top of the skirt to make the waist band and insert the elastic band.  It's a bit thick so I think I should have just cut off some width from the tea towel to make the gathers not so tight and thick.

Anyway, my girl loves the skirt.  So vintage and "farm-ly" if there is such a word. I love the rose print on the checked apron.  Nice to twirl around too since it is so full.


So happy for this simple sew.  Refashion is so rewarding sometimes when you just need some inspiration.


Friday, December 28, 2012

Simple Cinch Pouch


As mentioned in my previous post, my 7 year old made this in 30 minutes. To be more specific, I've helped to cut the pieces out and helped her to do some pinning while she did the sewing and inserting the ribbons.  But I'm so proud that she did sew them up herself!

Material
- one layer cake (10" X 10") of fabric A for main pouch and 1/2 layer cake (10" X 5")  of fabric B for the ribbon channel.


We have used a layer cake (10" pre-cut square) that helped to speed up the process. Each layer cake can make 1 pouch. If you don't have a layer cake, it's ok. Just cut out 2 pieces of fabric 10" X 5" each.  For the ribbon channel, cut 2 stripes of 2.5" X 10".

- 2 grosgrain ribbons of 24" long

Sewing
1. Cut the layer cake A into 2 of size 10" X 5" each


2. Cut the layer cake B into 2 stripes of size 10" X 2.5" each. Keep the bottom portion for another pouch if you want.


3. Pin one of the 2.5" stripe to the main panel along the 10" side. Remember, Right side facing each other.  Sew using 3/8" seams allowance. Zig zag the raw edge or use a serger if you have one. Press the seams upwards towards the narrow stripe. Do the same for the other piece.


4. Pin the 2 pieces Right Side facing, align the edge as shown below. Take careful note of what I'll be explaining below.


a. When you pin the 2 pieces together, mark 1" below the top (see pink line). This will be the indication of the start of the ribbon channel that you will have to leave unsewn. 


b. Start sewing from the right top corner and stop before the pink line. Then start sewing again at the joint between the stripe and main pouch body, down the bottom of the pouch and up again on the left side of the pouch.  Remember to stop sewing along the joint and then start sewing again from the pink line to the top of the pouch. 


c. The reason for leaving the gap on both the left and right seams is to make the ribbon channel which you will understand in step 6.

5. Press the side seams open and zig zag or serge the raw edge on top.


6. Fold the strip about 1" to the Wrong Side of the pouch (i.e. fold the strip into the inner side of the pouch) like so. Pin and make sure that the gap that you have left earlier is nicely place along the top folded edge. 


7.  Sew carefully along the stripe so now you ribbon channel is completed with 2 openings along the side seams!


8. Cut 2 pieces of grosgrain ribbons about 24" long. Insert one ribbon from one opening though the whole channel and exit from the same start point.


Insert the other ribbon through the other opening and out again from the same start point. Tie a knot and make sure that the ribbon is not twisted in the channel.


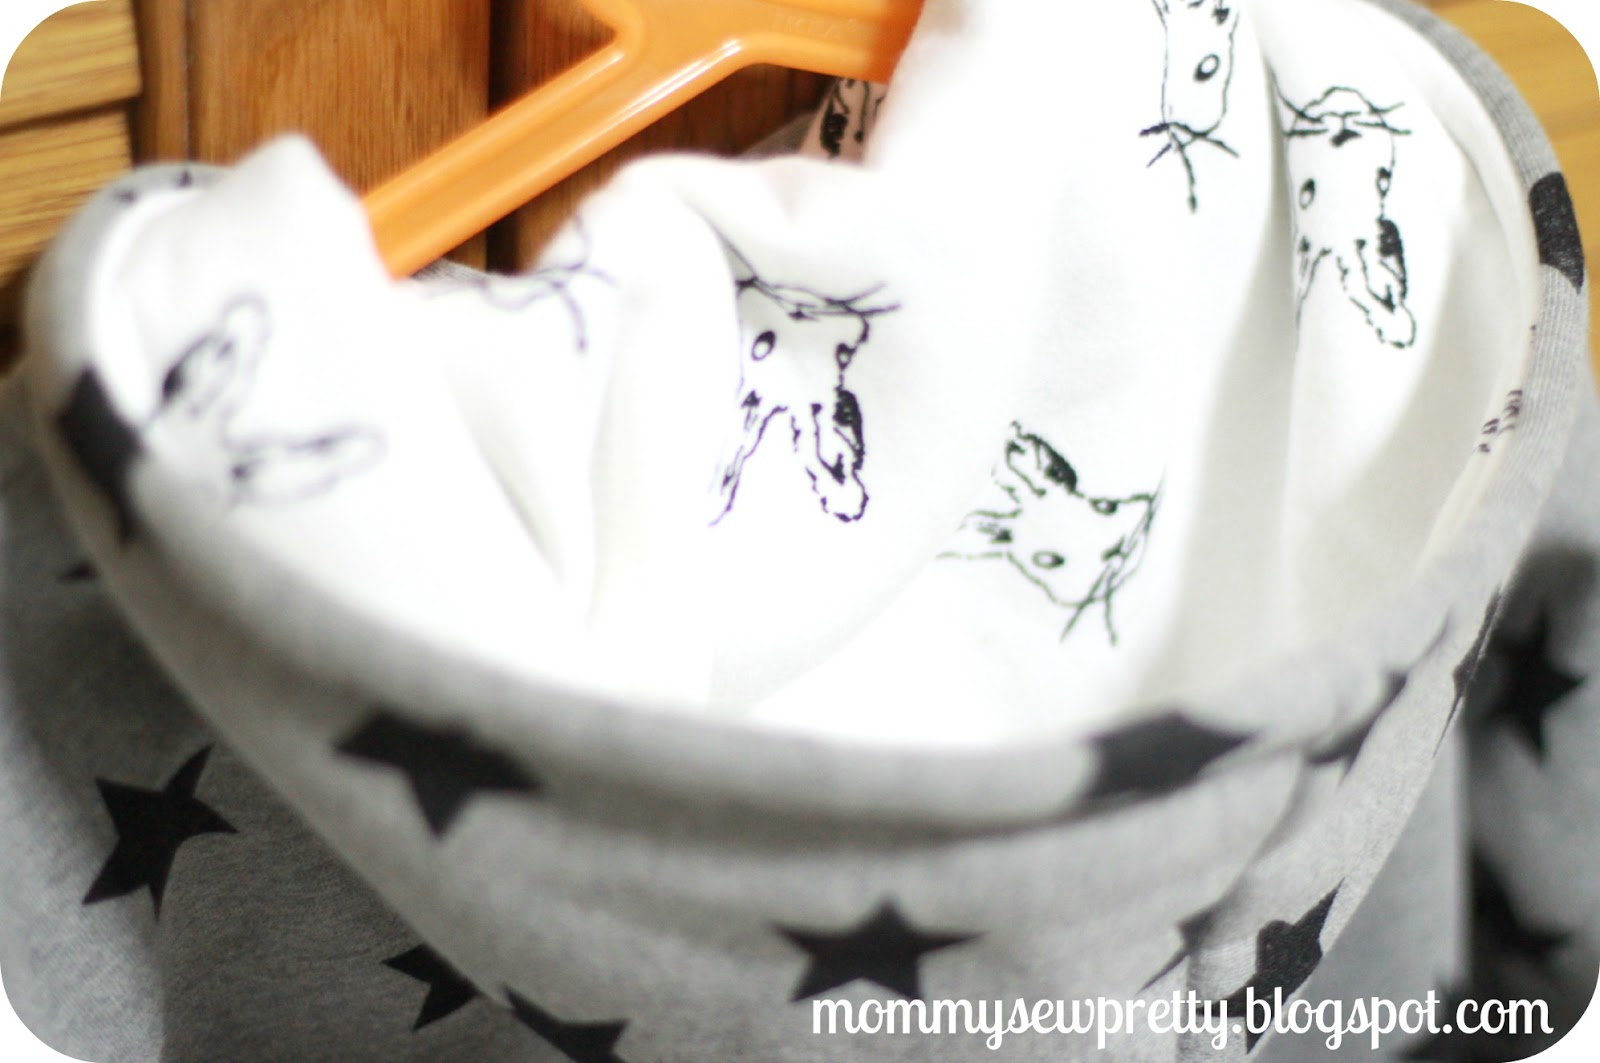
9. There! Your finished pouch with the 2 ribbons.


This is how the pouch will look when you cinch it.


So, go ahead and make 4 more! They make a nice pouch to put in small gifts. We are able to put in a box of Evelyn and Crabtree hand cream in one since it is longish and is the perfect size. Now, don't you want to try them out yourself?


Wednesday, December 26, 2012

Merry Christmas


Christmas came and had just gone past midnight for us here at Singapore.  How was your Christmas. Though we have no snow here but it was really festive with lights at our Main shopping streets and the malls.  I enjoyed a Christmas steamboat lunch with my family today so it was really good get together with the family and friends.

For the past weeks, I've been so swamped with work and Christmas shopping/sewings that my blog has been neglected. In any case, I was not able to share any sewing projects since most of them are Christmas gifts. But the good new is I'm now able to share what I've sewn!


These cute coin zipper pouches were so cute and simple to sew. I've used the Circle Zip Earbud pouch tutorial from Dog under my desk.   Except that I didn't interface them since I've used fleece for my inner layer so that gave them some shape. Also, I didn't top stitch over the finished pouch since I like it more puffy this way. It's so easy and I whipped up 35 of them in a few nights of sewing.  I was able to make 2 from one layer cake (10" square). The layer cake was bought long ago so I don't have the name  and the colorful zippers are bought from my regular shop at Textile centre for 28cents a piece.

I also sewn some cushion covers for my friends.  I love how they turned out. First time I did piping and it was quite a learning experience but not too difficult, just need to sew very close.


piping!


piping at the corner. so pretty!
I was so happy with how the cushion turned out that I sewn up another 2! I especially like the one with the rice grain print on the front.


I also used piping on this one. Both the pink and green ones were bought from Textile centre. I think I got 12 packs for $6.


And of course I made a black apple doll for one of my friends who requested for it.


This year I didn't sew all the gifts and buy some from the stores.  I think it is a better arrangement since I are not so stressed out and I get to spend more time with my girls since school will be up in a week's time.  The girls' birthdays are both in January and I'd order to make 2 birthday dresses. So back to the sewing room and hopefully I"ll not be distracted to sew other things.

Will share a simple tutorial on this pouch which my 7 year old girl made to put in my store bought gifts.  Yes, you heard it. It's so simple that a kid can sew it in 30minutes.  : )


Sunday, December 9, 2012

Cozy Hoodie Jackets


It's been weeks since my last post in November and time really flies. Now, Christmas is approaching and I'm still lacking the inspiration to sew gifts. I've been searching through pinterest and the blogland for inspirations so hopefully I'll be able to sew them before Christmas!

Anyway, I've meant to share on these hoodie jackets that I've sewn for my girls some time ago. I bought the fleece with fancy print from spotlight. They are really thick and warm so I didn't line the hoodie.


My youngest's hoodie has interesting ric arc around the yoke and sleeves.  I've adapted the pattern from Ottobre Autumn 4/2012 issue for Magic Tale (page 32).  I love this issues with all the beautiful jackets and winter wear.  The girls love their new jackets and wear them to church since it is quite cold with the air con in full blast.

I really like the ric rac on the front yoke. So special and pretty.


I made the following adjustments:

1) Change the buttons to zipper since installing zipper is much faster than sewing button holes, imho. Also I've got this cream colored separating zipper that I got from Daiso for $2 that is just the nice length. I did use stay tape for the zipper placket edges on front panel to stablise the area before sewing the zipper.


2) Line the hood with another fleece cause I wanted to hide the raw edge when the hoodie is off her head.  The star fleece print is from her sister's hoodie.


3) Added Kangaroo pockets cause I prefer jackets with pockets.  I copied the pocket template from another design "Roxy Royal" in the same magazine.


4) I remove the elastic on the sleeves but added a row of ric rac on the sleeves.


For my older girl, I use the pattern on page 43 "Roxy Royal".  The fleece is also from Spotlight but its grey with black star. She picked out the fabric and I got the separating zipper from Daiso for $2 that is more or less the required length.


Here's how it looks hand up.


I also line the hoodie with another fleece from her sister's jacket so she has rabbit hidden in her hood!


She didn't like the kangaroo pocket, so I use the pocket template from another design from the magazine (see how useful this issue is? I can change the design elements from the different designs!) "Young Hero" on page 36.  Except that I didn't insert the pocket zipper but use it as a welt pockets.


This is the first time I've sewn a welt pocket so it is a bit uneven but I'm still immensely happy with the results. I also remove the elastic for the sleeves.  See how the sleeve goes nicely into the pocket?


See the jackets in action here!


I think I'm more confident now to sew one up for myself : )