Monday, January 28, 2013

Vintage Skirt

I've been subscribing to Ottobre Kids magazines for some time and I really love the design and small details on each piece. The colorful spread and photography really makes everything looks so put together.  I love the kids fashion on knits and they even offer boys clothes too. 

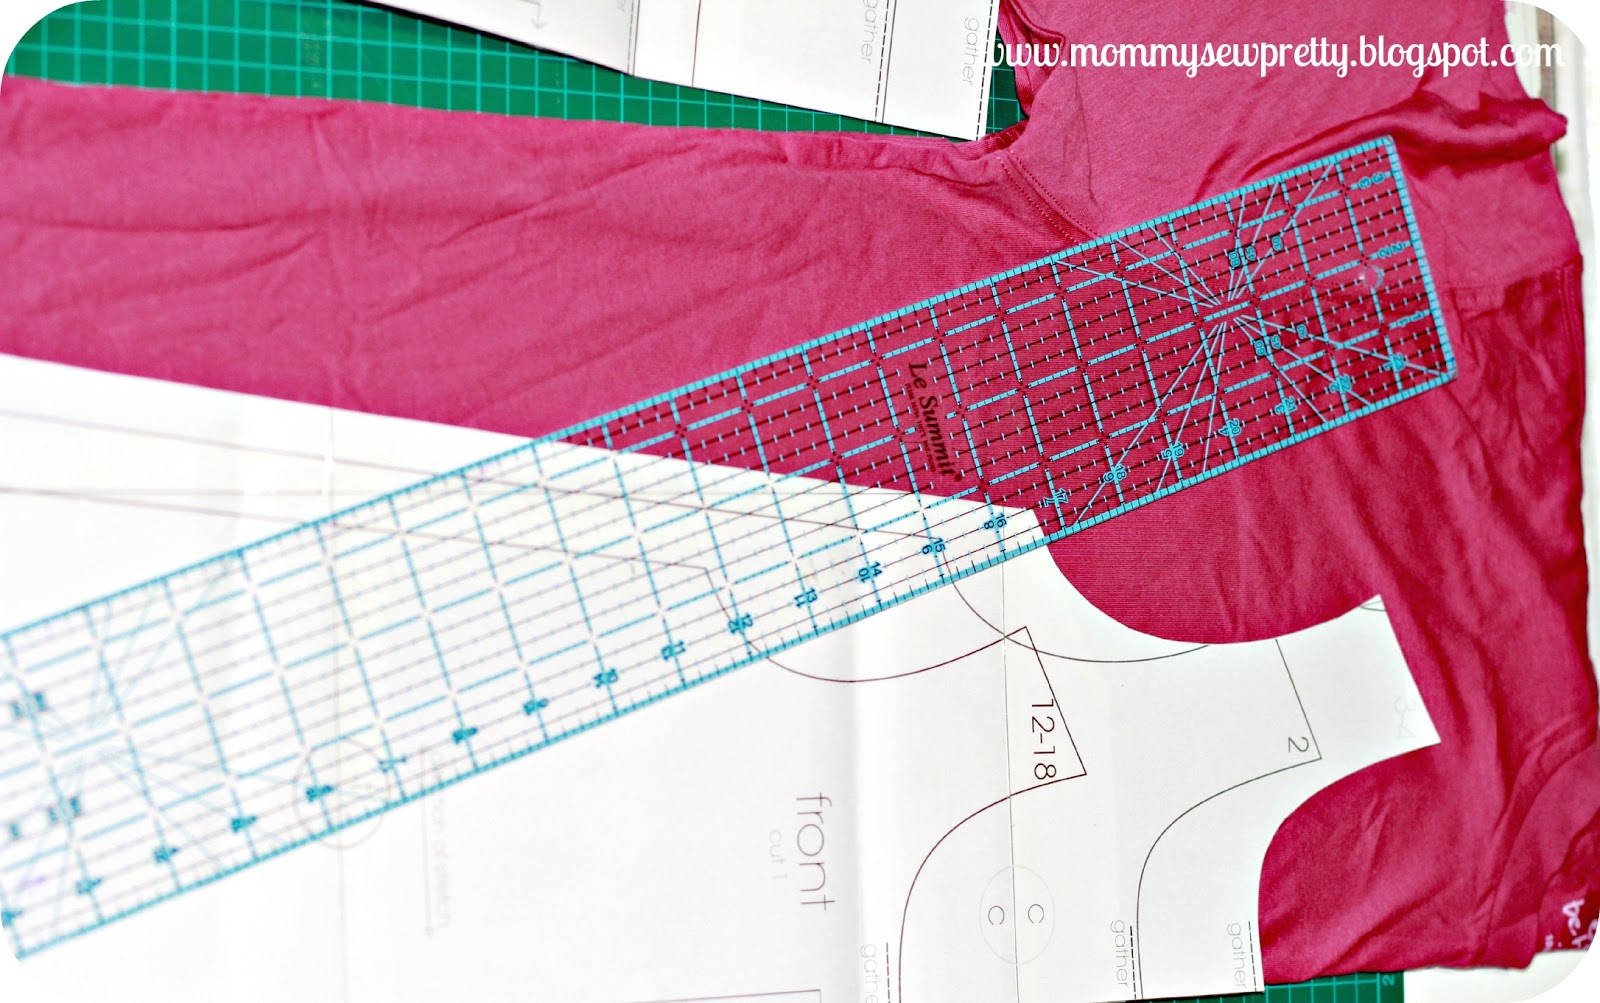
For first time user, you may need adjustment since the instruction in the magazine is quite minimal with no step by step photos or diagrams and patterns pieces are drawn on top of each other in different color codes and sizes.  Your eyes will likely cross when you try to trace it but since I'm familiar with japanese sewing book, it is still manageable for me.

I've made a dress and 2 jackets for my girls.  Love how they turned out. 

Recently, I ordered a back issue Summer 3/2009 and made up a vintage skirt for my girl.  The pattern is called 'Velma' vintage skirt.


For my recently turned 3 year old, I made a size 98. It was quite true to size. The skirt has 2 square pockets in front, a waistband and ric rac details on the pocket bands and skirt hem.


I used the vintage print fabric that I've on hand. Do you recognize this from my earlier project on pocket skirt?  With this busy print, it's a bit hard to see the details.


I've learnt a new technique to sew the pocket band on the pocket which hide the ugly seams.


I fail in matching print cause the waistband has the apple facing down : ( . I've use the front as inside without realizing it until i've serged the seams.


Added the Apple button. The recommendation is invisible zipper but I didn't have one so I just use a normal zipper and attach with lapped zipper method.


Friday, January 25, 2013

Faux Leather Foldover Clutch


Yup! I've caught the bug to sew one up myself. First caught sight of it at Kristen's blog "Skirt as Top" and really love her doily foldover clutch. Then, chance upon Cherie's faux leather accent fold over clutch and I'm sold.

Bought half a yard of faux leather from Chinatown at $7 per yard to try out. They come in a variety of colors and I bought a pink, turquoise blue and brown to try out.

I use a leather needle for this project and widen my stitch as suggested.  It works okay and I'm surprise how easy it is to sew.


I love the gold metal zipper that I got from a shop at Textile centre. They don't have a lot and size is limited but I'm glad I bought some pastel purple, pastel blue, pastel pink, green and even teal and mint.  The one I got is 10" instead of the required 9". It was okay but i've to adjust the stitch to be closer to the edge in order not to step over the metal teeth. Even so, I had to pick out the zip tab at the end to make the zipper teeth fit into the clutch length. I didn't want to run out to buy new zipper so I made do with what I've.


Want to peep inside?  I line the clutch with Heather Bailey Nicey Jane's Church Flowers in pink, green and yellow that I got last year. I was perfect. I love the sweet color. Not sure what I'll use it for but definitely this will not be my last.


Wednesday, January 23, 2013

Refashion Man's Tee to Sparky Dress


Here's the part-2 of the quickly T-shirt refashion project. On demand from the other sister.

I use a XL size Man's T-shirt for this. This project is also quite simple but it involve some cutting but I reuse the sleeve, neckline binding and the hem of the T-shirt. Let's jump in the tutorial shall we?

First, get a T-shirt larger than your pattern piece. You can also use knit if you have.  You can also use an existing kids t-shirt for the pattern but I just use the pattern piece from the Racerback dress from Crafterhours.  Fold the t-shirt into half and place your pattern along the fold.


I've place the pattern flush to the bottom of the shirt so that I can use the existing hem.  I didn't curve up the hem so I can use the hem in totality.  Cut out the pattern on fold and you will get both the Front and Back in one cut! Don't forget to cut the back neckline higher cause I forgot to do that and my front and back looks the same! Then, cut off the bodice and skirt so that you can later attach the sparky skirt. Length of skirt will depend how long you like. Just make sure it is the same length of slightly shorter than the sparky skirt.


Lay the sleeve flat and cut out the sleeve for the dress. I didn't use any pattern for us but just eyeball it. I  more of less follow the existing shape of the t-shirt. Be sure to cut the sleeve at the hem so that you can save hemming the sleeve too!


Cut out both sleeves and also the neckline ribbing of the existing t-shirt.


Then, following the steps to sew the bodice:
1) pin the shoulder seams right side facing and sew/serge shoulder seams
2) pin sleeve to arm sync, right side facing and sew/serge sleeves
3) pin underarm seams and side seams, right side facing and sew/serge underarm and side seams
4) as my neckline is much bigger, I use my serger to gather the neckline and then attach the ribbing using my serger, right side facing

For the skirts, just follow the previous tutorial. In a nutshell, cut the sparky fabric and sew into tube. Gather the skirt and pin together with the underskirt and elastic loop. Take special care to ensure the skirts are facing the right direction. Serge and sew the skirts, elastic to the bodice at waistline.


See the nice gathers. I love my serger! I didn't hem my sparky skirt since it doesn't fray.


The new dress.


She LOVES her dress, so twirly and sparkly


Enjoy the photos of the Sparky girls in their sparky dresses!


Monday, January 21, 2013

Refashion Woman Tunic to Sparky Dress


I love sewing but really drag tracing and cutting out the pattern and fabric at times. So, to motivate myself to keep sewing, I turn to refashion of unwanted clothes.

So, I took an old tunic of mine and turn it into a sparky dress for my girl.


This whole project was super fast since I've kept the original sleeve and didn't waste any fabric.  The pale pink sparky skirt was made from the leftover fabric from my previous Barbie and the Musketeers costume. I have also used my serger throughout the whole project which is good cause I didn't have to change out my needle. Yap, I'm so lazy like that..

Here's how I diy..

First, let your kiddo wear the tunic and get a sensing on the amount to cut off.  I need to pull up the shoulder seams by 1" and narrow the sleeves too and that's about it.  I cut off the sleeves.


Mark 1" away from the sleeve under seams and just serge away the excess.  Using the twin needles option on my serger, I can sew and serge in one go. See the new under seams.


Take apart the portion below the waist of the tunic. My tunic has a high waist gathered skirt so it is just right to turn it into an underskirt since my sparky fabric is a bit sheer.


I cut out a rectangle from my sparky fabric using the entire width of the fabric and the length will depend how long you want the skirt. Then, sew the side seams, right side facing.  Using the serger, I'm able to sew and serge the raw edge.

Then, adjusting my serge to the longest stitch width and length and adjust the tension to 5-5-6-6 (pink, yellow, green, blue) if you are using brother serger or if not, just adjust the tension looser and you will get a gathered skirt in no time.  I gathered my sparky skirt and pin it to my underskirt at the waistline. Both skirts should be Right Side facing up. Distribute the gathers evenly.


Turn the skirt Wrong side out and insert the bodice (right side out) so that both the bodice and skirts have right side facing each other. Get it? I hope you are not lost here. Again, pin the bodice around the waistline to the 2 skirts. Be sure to match the side seams and get the front and back facing correctly!


Cut an elastic 1" smaller than your kid's waist (depending on the elastic, you will need to make sure it is snug but not too tight). My elastic is quite stretchy so I can do away by cutting it smaller. Sew the elastic into a loop and then pin them to the skirts along the waistline.


Then, the fun and strenuous part. Change the setting on your serge to normal mode and sew the whole elastic and skirts together by hold and pull method. You only stretch your elastic and not the fabric. Pull from pin to pin and sew on the elastic which will catch both the skirts and bodice at the same time.  And when you finish sewing, tad a! You get a nicely gathered elastic skirt.


And there you have it. A nice sparky dress to twirl around.  Next up, I'll share another refashion sparky dress that I made for the younger girl. Had no choice since she was had to have one to be same as her sister. More to come in my next post!


Friday, January 18, 2013

Doll Carry Basket


For the last Christmas, my girls got the Baby Alive toys from their doting Uncle and Aunt. I thought it will be lovely to make a doll basket for them to carry the dolls around.

Here I'll just be sharing some tips on how I made one. I didn't really look for any tutorial since it is basically a oblong base with side panels and straps.

First measure your doll to get the rough size how big your basket should be. Leave some ease for the little hand to put in their baby and blanket. My doll is around 14" tall and I made it to 16" long.


You just need 3 basic shapes (base, side panel and strap) and 2 fabric for outer and inner basket. I use fleece to make it soft but you can also batting or interface the fabric to make it stronger. To make the base sturdy, I insert a plastic canvas in-between the fleece/batting and main fabric.  

Here's how I did it.  First, cut all the pieces out.


Then, sew the base Lining piece to the fleece/batting but leave about 10" gap unsew along the middle portion to insert the plastic canvas. Once you inserted in, sew up the gap. Set aside.


For the Inner side panel, I also sandwich the main, fleece and inner fabric and do a simple quilting so that it will be strong and will stand since I didn't interface the fabric. I think I should have done it to make it sturdier.


Right side facing, place the side panel onto the base, starting from the top middle portion and start pining away. Try to align the raw edge and coming to the end points, leave about 3" unpin and sew up the side seams of the side panel. Then, pin the remaining side panel (which is now a loop) to the base. This will ensure that your side panel fits the base exactly.


Do the same for the outer basket except that there is just the Base + Side panel, without the fleece or plastic canvas to battle with.  Insert the inner basket into the outer basket, align the side seams.


Pin like crazy along the top edge. Then, sew all around the top edge.


Take a double fold bias tape and start pining along the top edge that you've just sewn.


Sew around again.


Next, take the 2 long stripe and sew them right side facing along the long side and turn it right side out. Do the same for the other 2 pieces. Fold in the raw edge on the short ends and sew them onto the basket.  Measure your kid so you know how long you want the strap to be.


And, there is your Doll basket! Add a pillow or blanket and your baby are good to go.


Wednesday, January 16, 2013

Happy Birthday, My little Princesses


It's mid of January and I've not posted much except for the First Day of School post.  Lamentation seems to be the common theme for the recent month : (

January is always a busy month for me with the girls going to school and both of their birthdays fall in January too. As a tradition, I'll try to make a new dress for the girls for their birthday. This year, they wanted to be Disney Princesses - Belle and Aurora.

My eldest requested for Belle and I just love how it turned out. The chiffon shoulder shrug and overskirts really make the costume look so 'Belle', don't you think? The details on the overskirt is achieved using 8 thin elastic band. It was so easy and final effect so magnificent.

Princess Bell and Side Kick - Little Aurora!
I found this shop at Chinatown that sells lots of sewing accessories and found this chiffon rose in the exact yellow for the dress. It's quite pricy at $7 per yard but I love how the rose enhanced the look. Here I use the rose around the waist band and on the shrug.


Little sister is into Pink now so she wanted to be Aurora.  I needed to make her an overskirt so that her dress is like her sister but with a different style. She's into that 'I want the same as Jie Jie (sister)' mode now.  So, also made her a shoulder shrug in white satin and added a chiffon rose.  The shrug limited her movement so she took it off most of the time!


Here you can have a better view of the chiffon rose waistband. I hand sewn them onto the dress. The chiffon overskirts was just fold over and attach to the bodice before sewing to the main satin skirt.  I bought all the fabric from Arab street at $4 per yard.


I got their cakes from Bengawan Solo for $40 per Kg but it was delicious. I can't bake so I'll leave that to the professional.


I'm so glad I've finished the dresses way ahead of the time so it was less stressful. I got more order now for a Cinderella(s) and Rapenzul(s)!