

Since it's a monster, I just go with anything in my mind. I had in mind a green rectangle monster with red mouth and white teeth. The final monster looks cute with the checked hands and feet. You would recognise those as the scrap left over from my husband's shirt!
It's really easy and you can try them too. I've used fleece but you can just use regular cotton fabric if you want.
Cut Pieces
Green body (2 pieces) measure 8"X 11"
Red patch for mouth (1 piece) measure 3.5"X 2"
White patch for teeth (1 piece) measure 3.5"X 2"
Square patch for eyes (2 pieces) measure 1.5"X 1.5"
Black scrap for eye balls
Fabric for legs (4 pieces) measure 7"X 2"
Fabric for hands (4 pieces) measure 4.5"X 2
Instruction
1. To sew the eyeball to the eyes, place the black strap ontop of the white square and sew a circle/square right on top of the black scrap.

2. Trim away the excess fabric around the sewn area and you have your eyes! Do the same for the other piece.

3. Place the eyes on the monster body and pin in place. Sew the eyes onto the body. Since it's a monster, I go for a square eyes. Trim away the excess and put aside.


4. For the mouth, place the white piece ontop of the red piece and pin in middle. Sew a zig zag line on the top and bottom part of the pieces.

5. After you have sewn the 2 zig zag lines, cut through the white piece in the middle. Be careful not to cut through the red piece!

6. From the cut middle line, you can cut away the excess white fabric close to the sewn zig zag lines. You will now see your mouth. Does it looks scary??

7. Take your main body piece and draw an outline of a rectangle measure 3"X 1"and 6/8". Cut out the space. This is to sew your mouth piece in.

8. Place your mouth piece behind the face and sew around the rectagle. Make sure that you sew the piece securly in place.

9. Pin 2 pieces of the legs together with right side facing in and sew around the edges, leaving the top edge unsew. Do the same for the other leg piece and the 4 hand pieces.

10. Turn them right side out and stuff with fibre fillings. Sew edge shut.

11. Pin and sew the leg pieces to the bottom of the body (wrong side facing up). This will be enclose inside the body later when you place both body pieces together. I've used this method as I want to keep the pattern at the bottom of the body piece in tact.

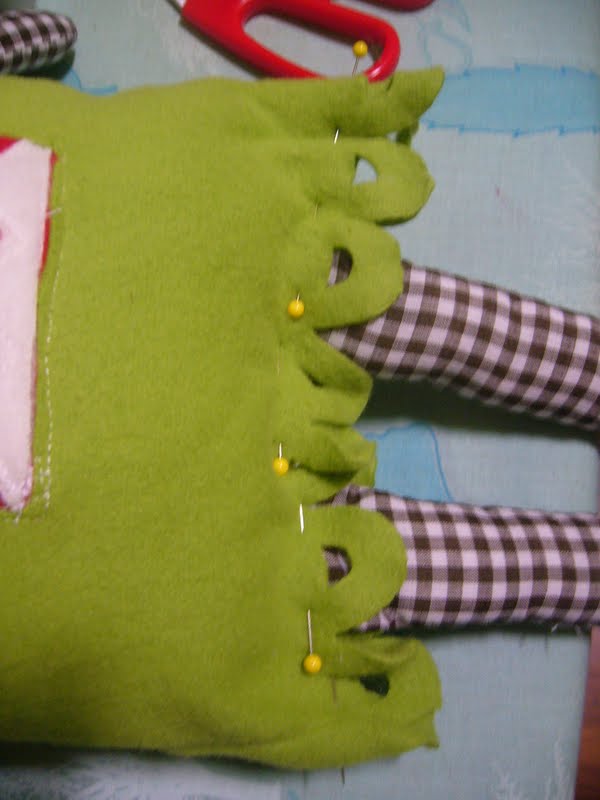
12. Turn the body piece over so that right side face up. Pin the hands so that the pieces are inside the body.

13. Place the face body piece onto of it so that the right side face inside. Sew around the circumference of the body pieces starting from bottom left. Leave the bottom edge unsew.

14. Turn the body pieces from the bottom.

 |
| It looks like a puppet now : ) |

Hmmm...this monster reminds me of Dora's the explorer's bagpack! Hahaha...
No comments:
Post a Comment