

To this

Bought my toddler a baby stroller as she had so much fun playing with one at her cousin's home. But, in a matter of hours, the plastic fabric tore off due to the violent pulling and tagging by my energetic toddler. The Daddy quickly added to the dismayed toddler that 'mummy can fix it'. So, I had to do something about it while she sleeps so that it'll be fix by morning for her to play.
I can't reuse the fabric as it is poor quality and I felt that sewing from scratch may help to lengthen the life span of the toy. So I took some of the japanese fabric that I've and did some quick sewing. The sewing was pretty fast after I got the measurement.
As you know, I was in a hurry. So apology for the lact of photo here in this simple tutorial.
Material
2 pieces of rectangles measure 9"X 11" [A] for the top half and another 11.5"X 9" [B] for the bottom seat.
4 elastic band about 2.5" long each
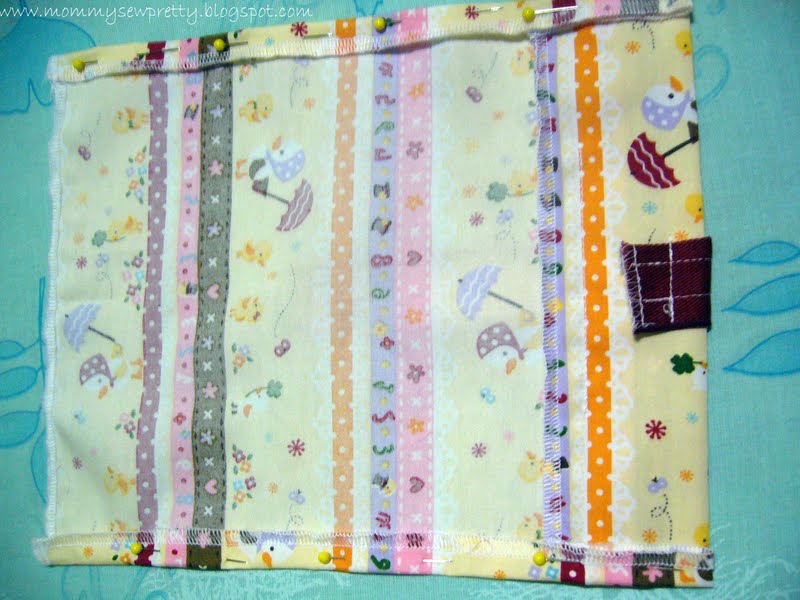
The T-shape harness across the stroller is actually a scrap from a japanese fabric calendar that my friend gave me years ago. I just cut 2 straps and keep the bible verse portion infront.
Brief Instruction
1. Cut the fabric and serge the raw edge or zig zag to keep from fraying.

2. Fold in the 2 side seams by 0."5"and sew in place for both A and B pieces. For A, you will need to fold in the top seam in by 0.5". Sew.

3. Fold 2 pieces of elastic into half so that it forms a loop. Pin the elastic loop to the top left and right of the A. Stitch securely. This will allow you to slip in the cover from the stroller handle. [sorry, no picture]
4. Fold in 2" at the bottom of B (wrong side facing) and sew a straight line starting from 2.5" from side seam and stop at 2.5" from the other side seam. The unsew portion will form the hollow portion for you to insert into the bottom poles of the stroller.

5. Sew the strap. The scrap that I've is 5" long and one of the edge is already serged nicely. So I serged the other side and fold in before sewing a long stitch down the strap so that the raw edge are tuck away from sight. I've sewn another decorative stitch parallel to the first one so that it looks neater.

6. Fold about 1.25"on one end of the strap to make a loop. Sew it down. Fold in about 1"on the other end of the strap and pin to the back of B. Try to centralised. Sew a straight stitch to attach the strap to bottom of B.

7. Place A and B together with right side facing, align the short edge. Pin and sew with 0.5"seam allowance. At the same time, attach 2 elastic bands made into loops to the ends of the joints. The loop will be attached to the bottom of the bar under the stroller to keep your seat cover pull taut.{sorry, no pic}
8. Lastly, find a longer strap, fold in and sew the raw edge. Insert through the middle strap loop, make sure that it is equal distance on both side. Sew velcro pieces on both ends of strap so that it can be attach to the side bar of the stroller and yet removeable for washing.
Ta - da! You are done with the sewing. Hope I didn't confuse you. Anyway, there are lots of similar tutorial in more details and photographs than this one. Just thought of sharing with you guys what I've done. Didn't have time to search on the blog as this seems to be a simple project.

No comments:
Post a Comment