
My office had 5 levels and meeting rooms are scattered across few levels. So, depending on the meeting, I've to carry my laptop, handphone, writing pad and sometimes batteries to the various meeting rooms. The original laptop bag that came with the laptop is too bulky and ugly. So, most of the time, I just carry in my arms and walk around. Hence, sometime the handphone got slippery and landed on the floor when I tried to juggle too many things in my hand.
So, I made this.
 |
| front view |
 |
| back view |
 |
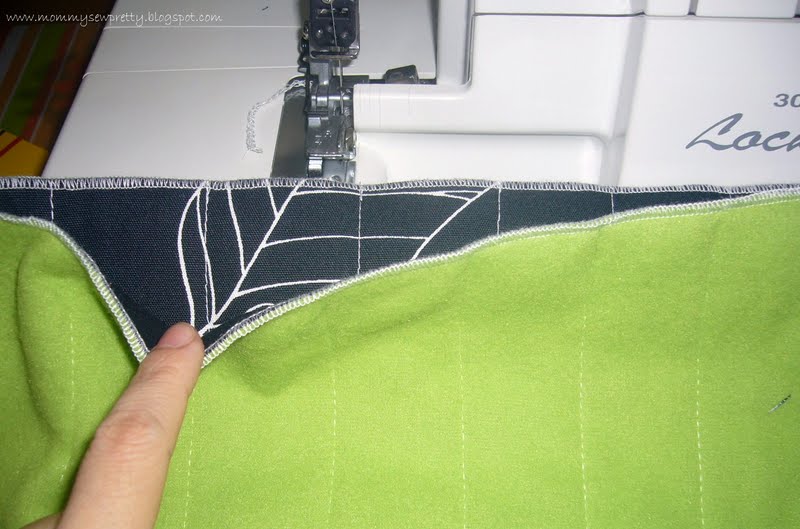
| Inner view |
Want to try?
Material [For HP 12" laptop]
A) 1 pc Outer fabric (A) 14" X 22" and interfacing of 13" X 21"
B) 1 pc Inner fabric (B) 14" X 20" [Good if you can get padded fabric, if not, cut batting/fleece of same size]
C) Fabric for the strap 1" X 26"
D) 1 pc Outer fabric (A) for handphone pocket 9" X 4.5" and 1 pc interfacing of 4" X 4"
E) 2 D rings of 1" width
F) 2 swivel bolt snaps of 1" width for the bag
Item E and F will depend on the width of your strap. Adjust accordingly.
Cutting Instruction
1. Cut all the fabric out. If you are using a nice print like mine, need to make sure that the print are nicely centralised and looks upright for both front and back view since I'm cuting a continuous piece and will fold in middle into half.
2. Place the fleece/batting on the wrong side of inner fabric B and sew simple straight stitch to secure.


3. Iron a medium weight interfacing onto the wrong side of the outer fabric A and handphone pocket.

 |
| only need to iron on 1 side of the folded pocket |
1. Fold the into half with right side facing and align side seam. Sew the 2 side seams together. Clip the corners

2. Press open seam and turn right side out. Iron again.
3. Pin the pocket to your desired position on the outer fabric A (front piece) and fold in the seam on the bottom of the pocket. Sew the pocket to the bag starting from the top right and all the way to the other left top corner, leaving the top portion unsew.

 |
| make sure that the top is not sew |
1. Fold the fabric A right side together and match seam. Sew the side seam together with 0.25" seam allowance. Press seam open.

2. Create a base for the bag by folding the bottom corner into a triangle and measure 2" across. Pin and sew with 0.25" seam allowance. Cut off the excess corner. Do the same for the other corner. Make sure that both corners are same size.


3. Turn the bag right side out.

Inner Bag B
1. Do the same step 1 - 2 as Outer bag after you have sewn the fleece/batting on the wrong side of B.
2. Serge the top edge of the Inner bag and put aside.
Strap
1. You can either use the same piece of fabric or like me, I've used both the A and B fabric so that the strap is has two colours, front and back.

2. Sew the 2 straps together with right side facing with 0.25" seam allowance. Press seam open and turn right side out. Iron flat. Sew 2 rows of stitch for decoration.

3. Insert a swivel bolt snap through one end and fold in the end by 1". Sew end shut. Do the same for the other end.

4. For the D-ring strap, cut 2 straps of 1" X 2" each. Fold into half with right side facing and sew with 0.25"seam allowance. Turn over and iron. Your strap is now 0.5" X 2". Sew 2 rows of stitch.

5. Insert a D-ring through the 2" strap and fold into half to make a loop. Do the same for the other strap. You can sew or serge the ends together.
Putting the 2 Bags together
1. Insert Inner Bag B (wrong side facing out) into Outer Bag A (right side facing out), align side seams. Fold in the top seam of A by 0.25" and another 0.25".


2. Pin the bags together around the top edge, ensure that both bags are pin together.
 |
| the top edge of B should be encase in the folds of A |

4. Sew a straight stitch around the bag top edge at 0.5" from the top edge. You should be able to catch the 2 bags as you sew. Attach your label if you like. Sew slowly as it is quite thick. Increase the stitch length slightly.

Attach the strap and you are done!

3 comments:
That looks great!
Delightful I'm sure you're proud to carry that bag.Now everyone in your office will want one. Did you make two for a switch up?
Thanks for the sweet comment. I'll be making 2 more as my colleagues at work wanted one too!
Post a Comment